Easy Thrift Store Tray Makeover
As an Amazon Associate, I earn from qualifying purchases.
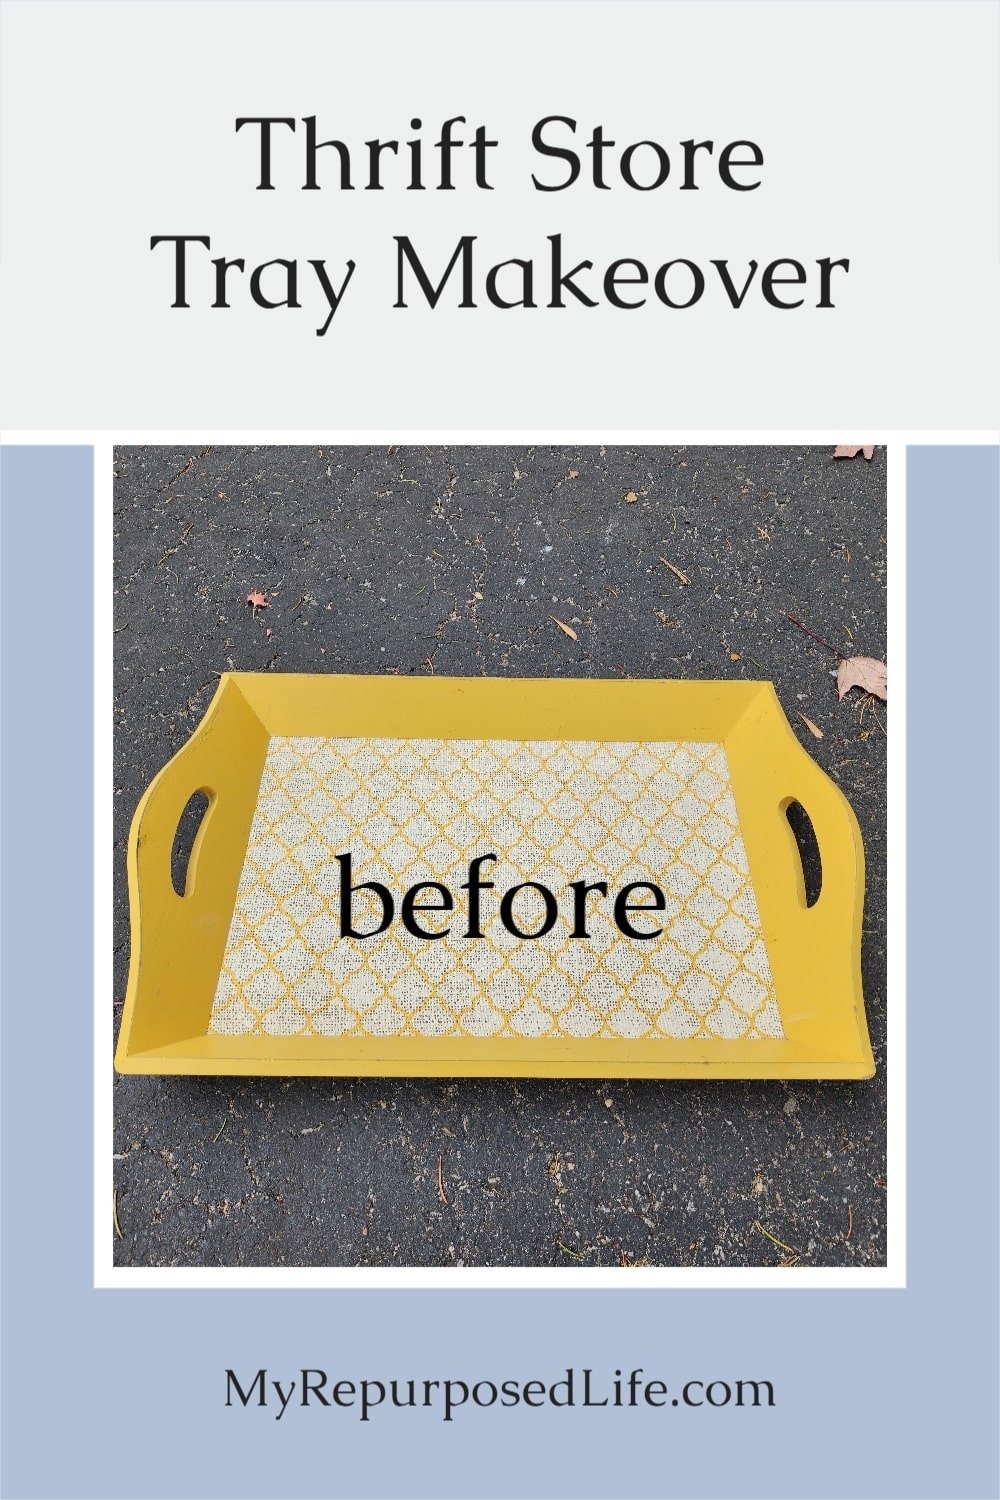
For this month’s Thrift Store project, I’m sharing a fun tutorial of the easiest tray makeover ever. My friend picked up some random trays at the local vendor’s market. She got three, each for $1.50. I know one of them was a metal tray, and this wooden tray I’m sharing today. Be sure to visit my friends projects, the links will be after my tutorial.
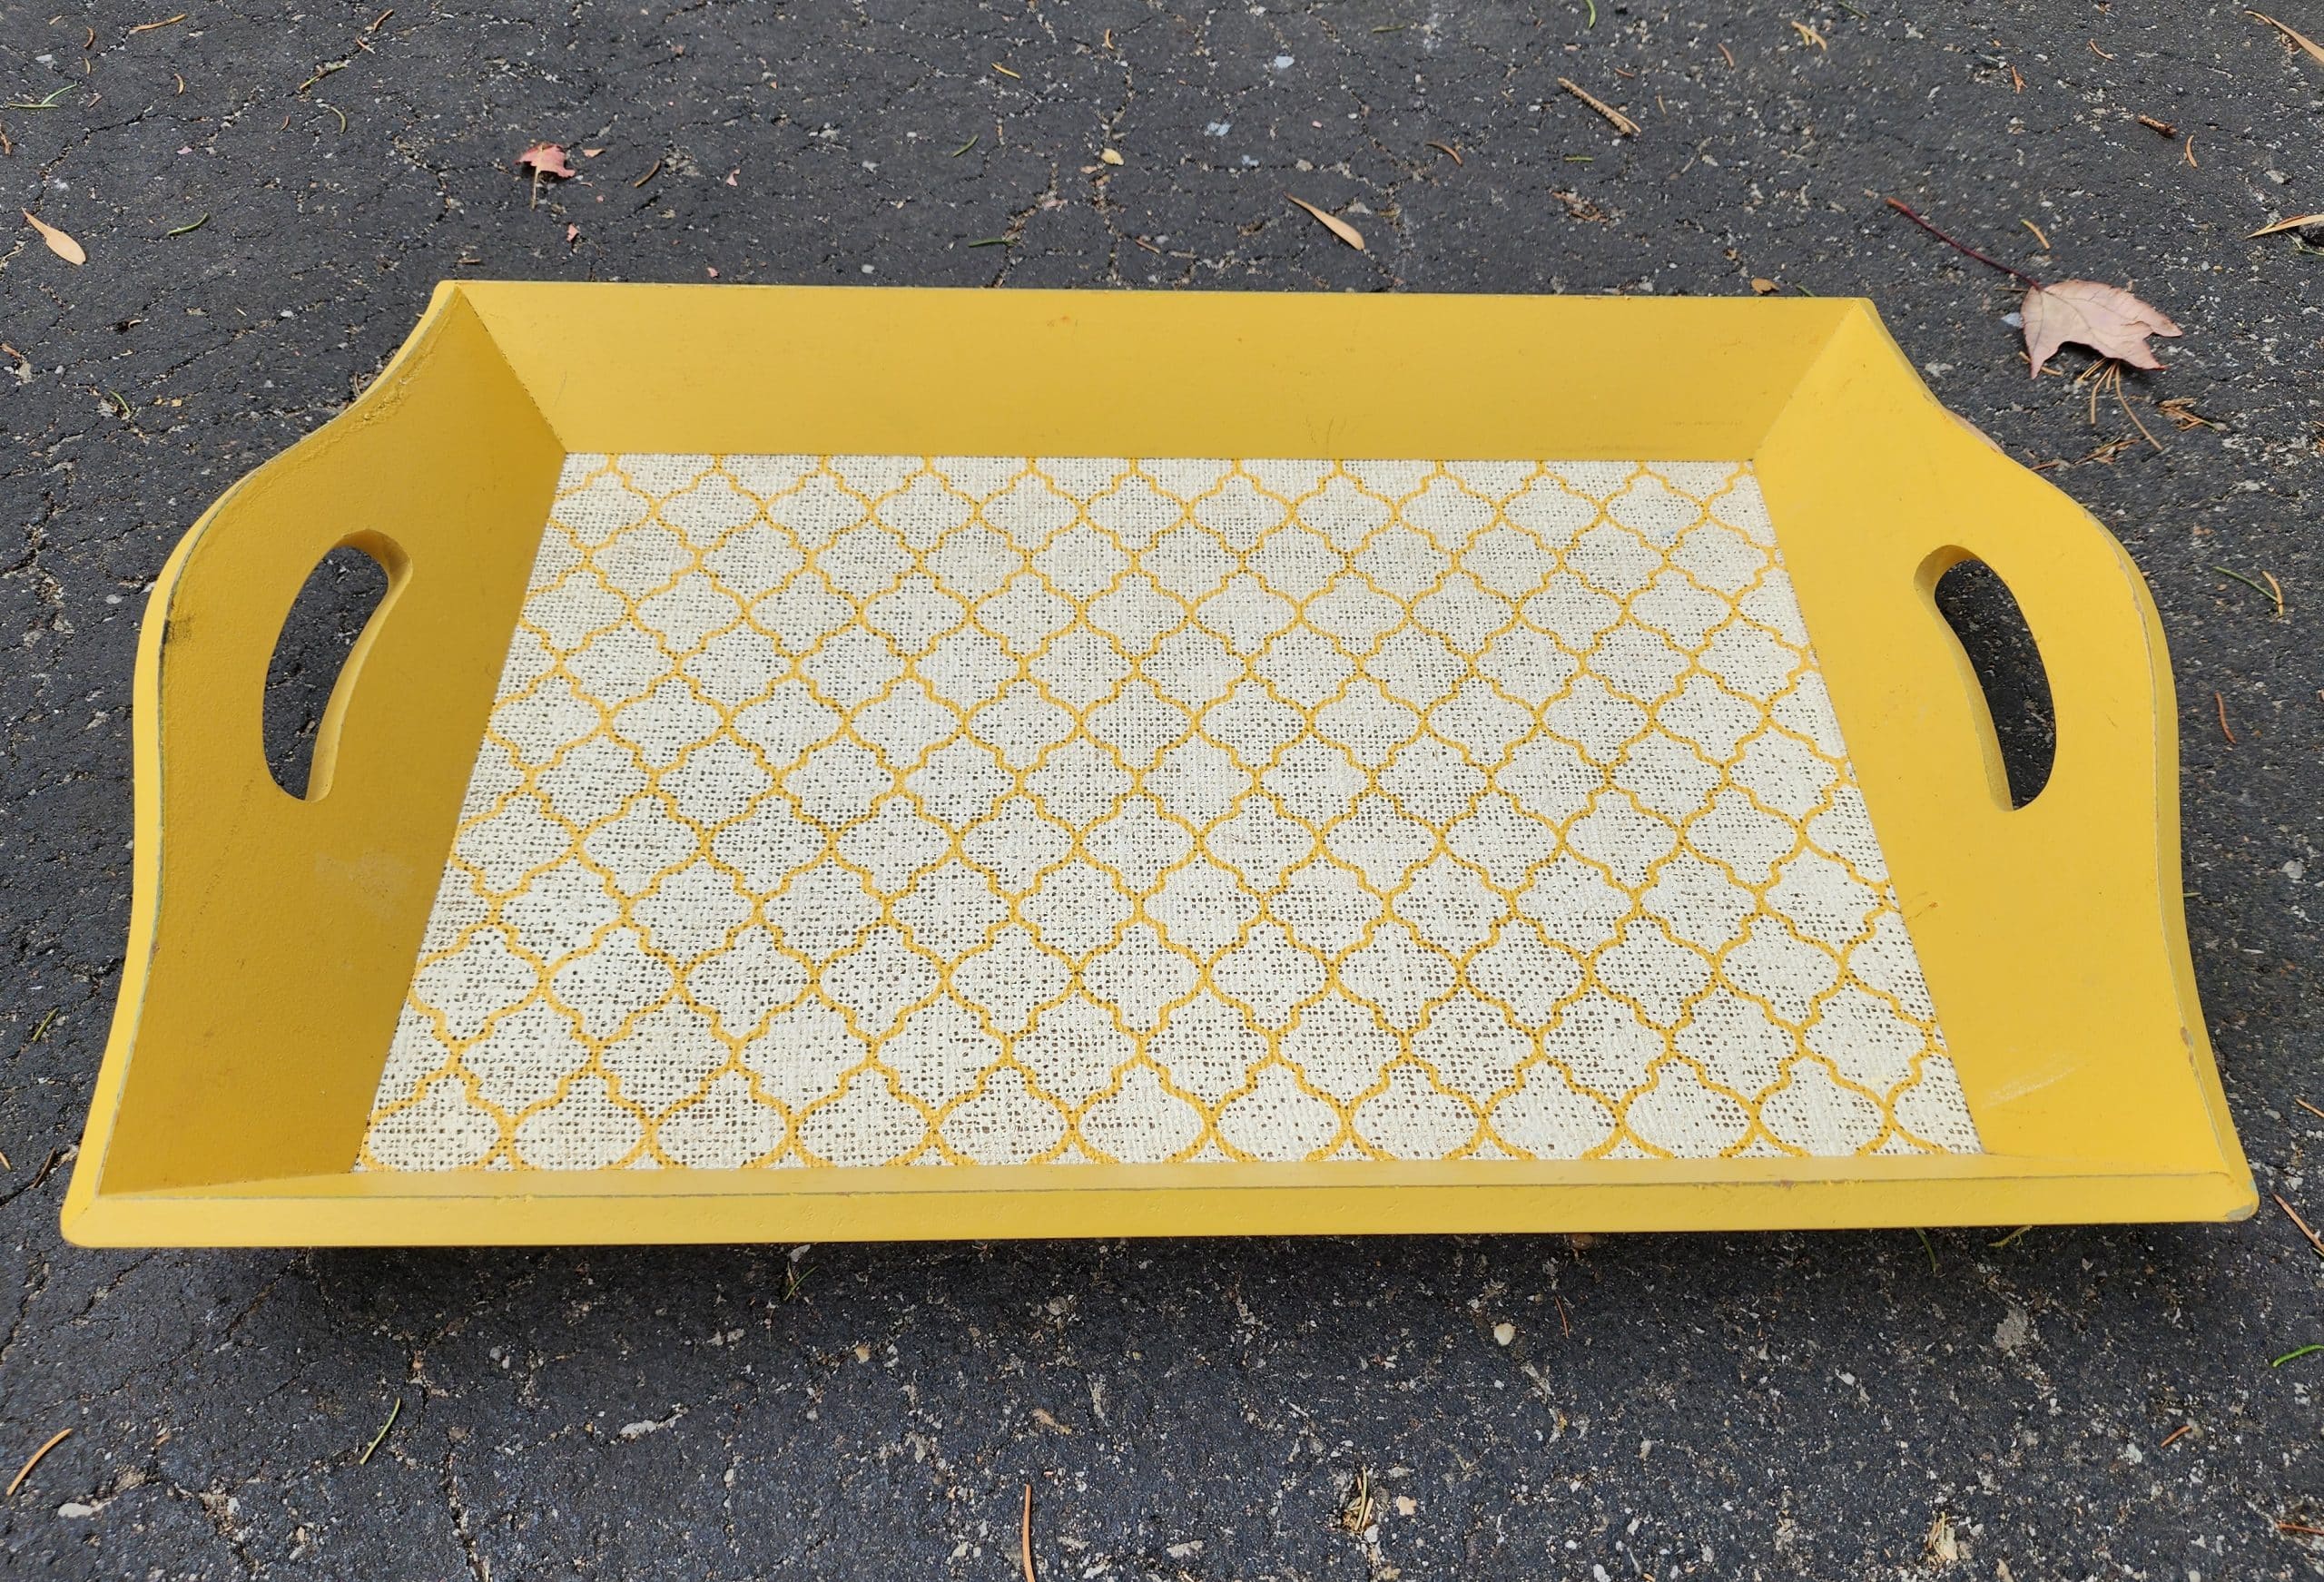
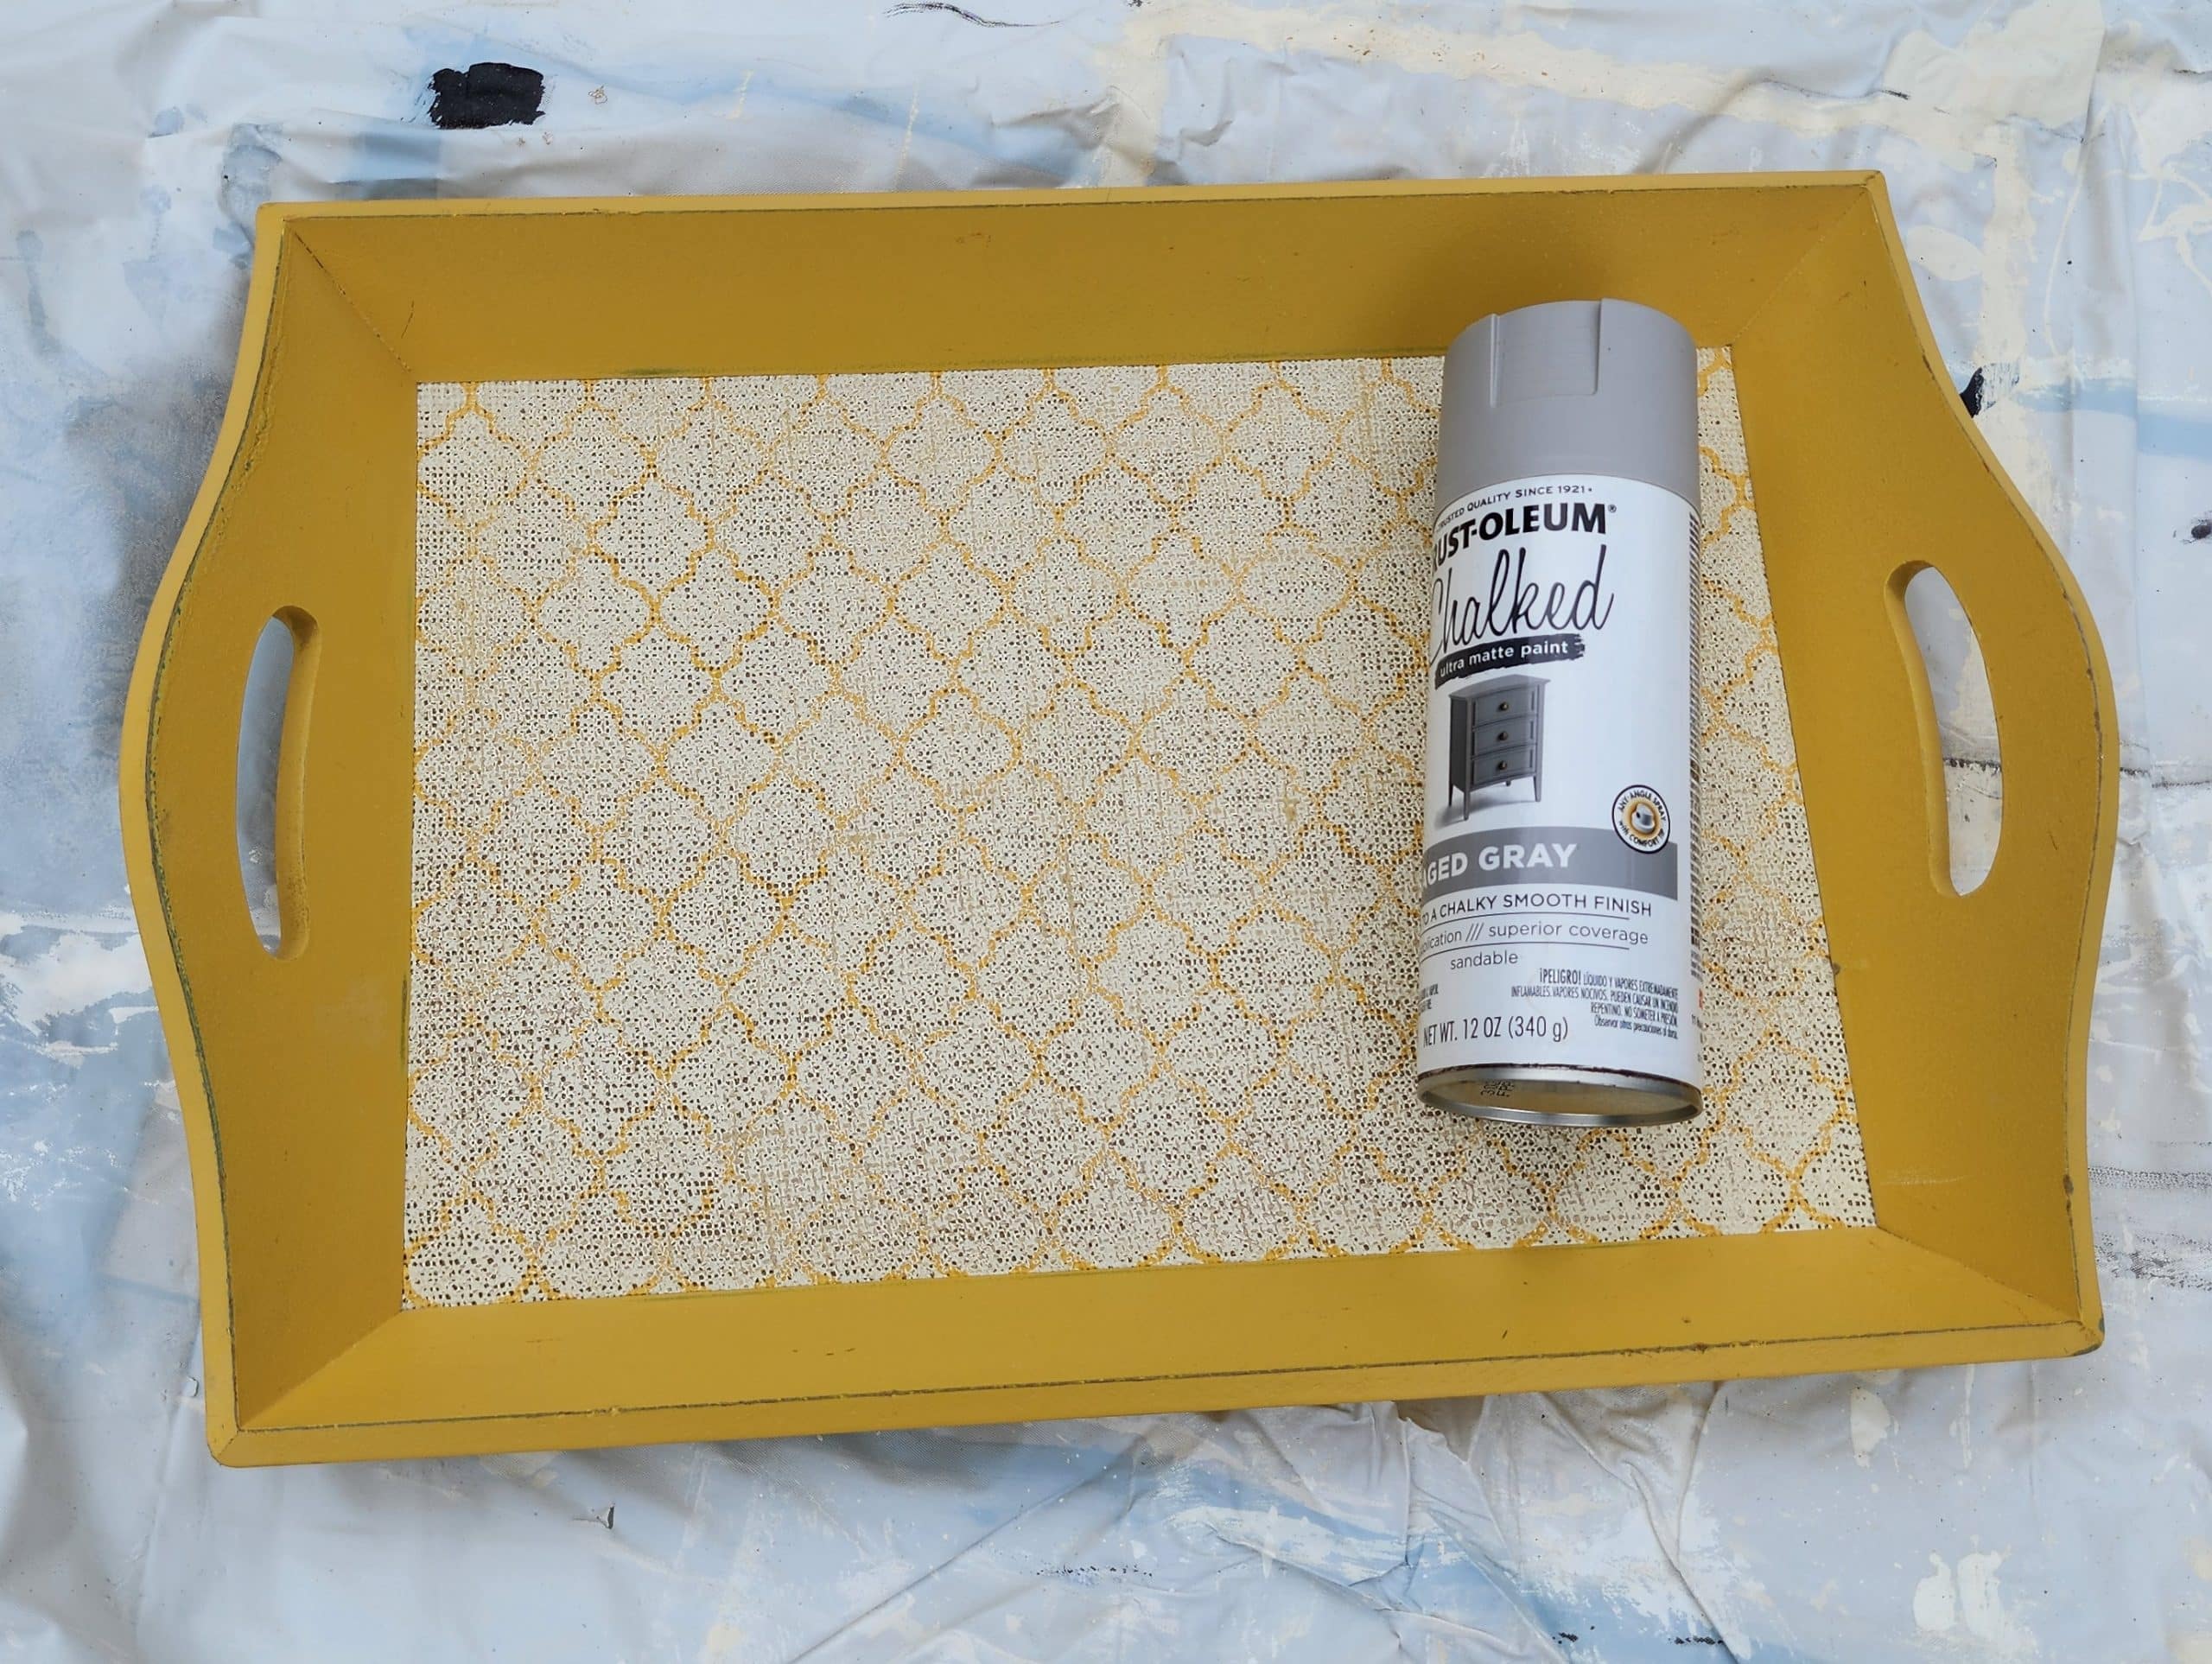
Here is the thrift store yellow tray I got from my friend. She had offered it to me, and I had said no. However, I came across a small sheet of wallpaper that I realized would be perfect for the center on this tray makeover, so I asked her if I could have it.
This is our Thrift Store Day. Be sure to check out all the projects below.
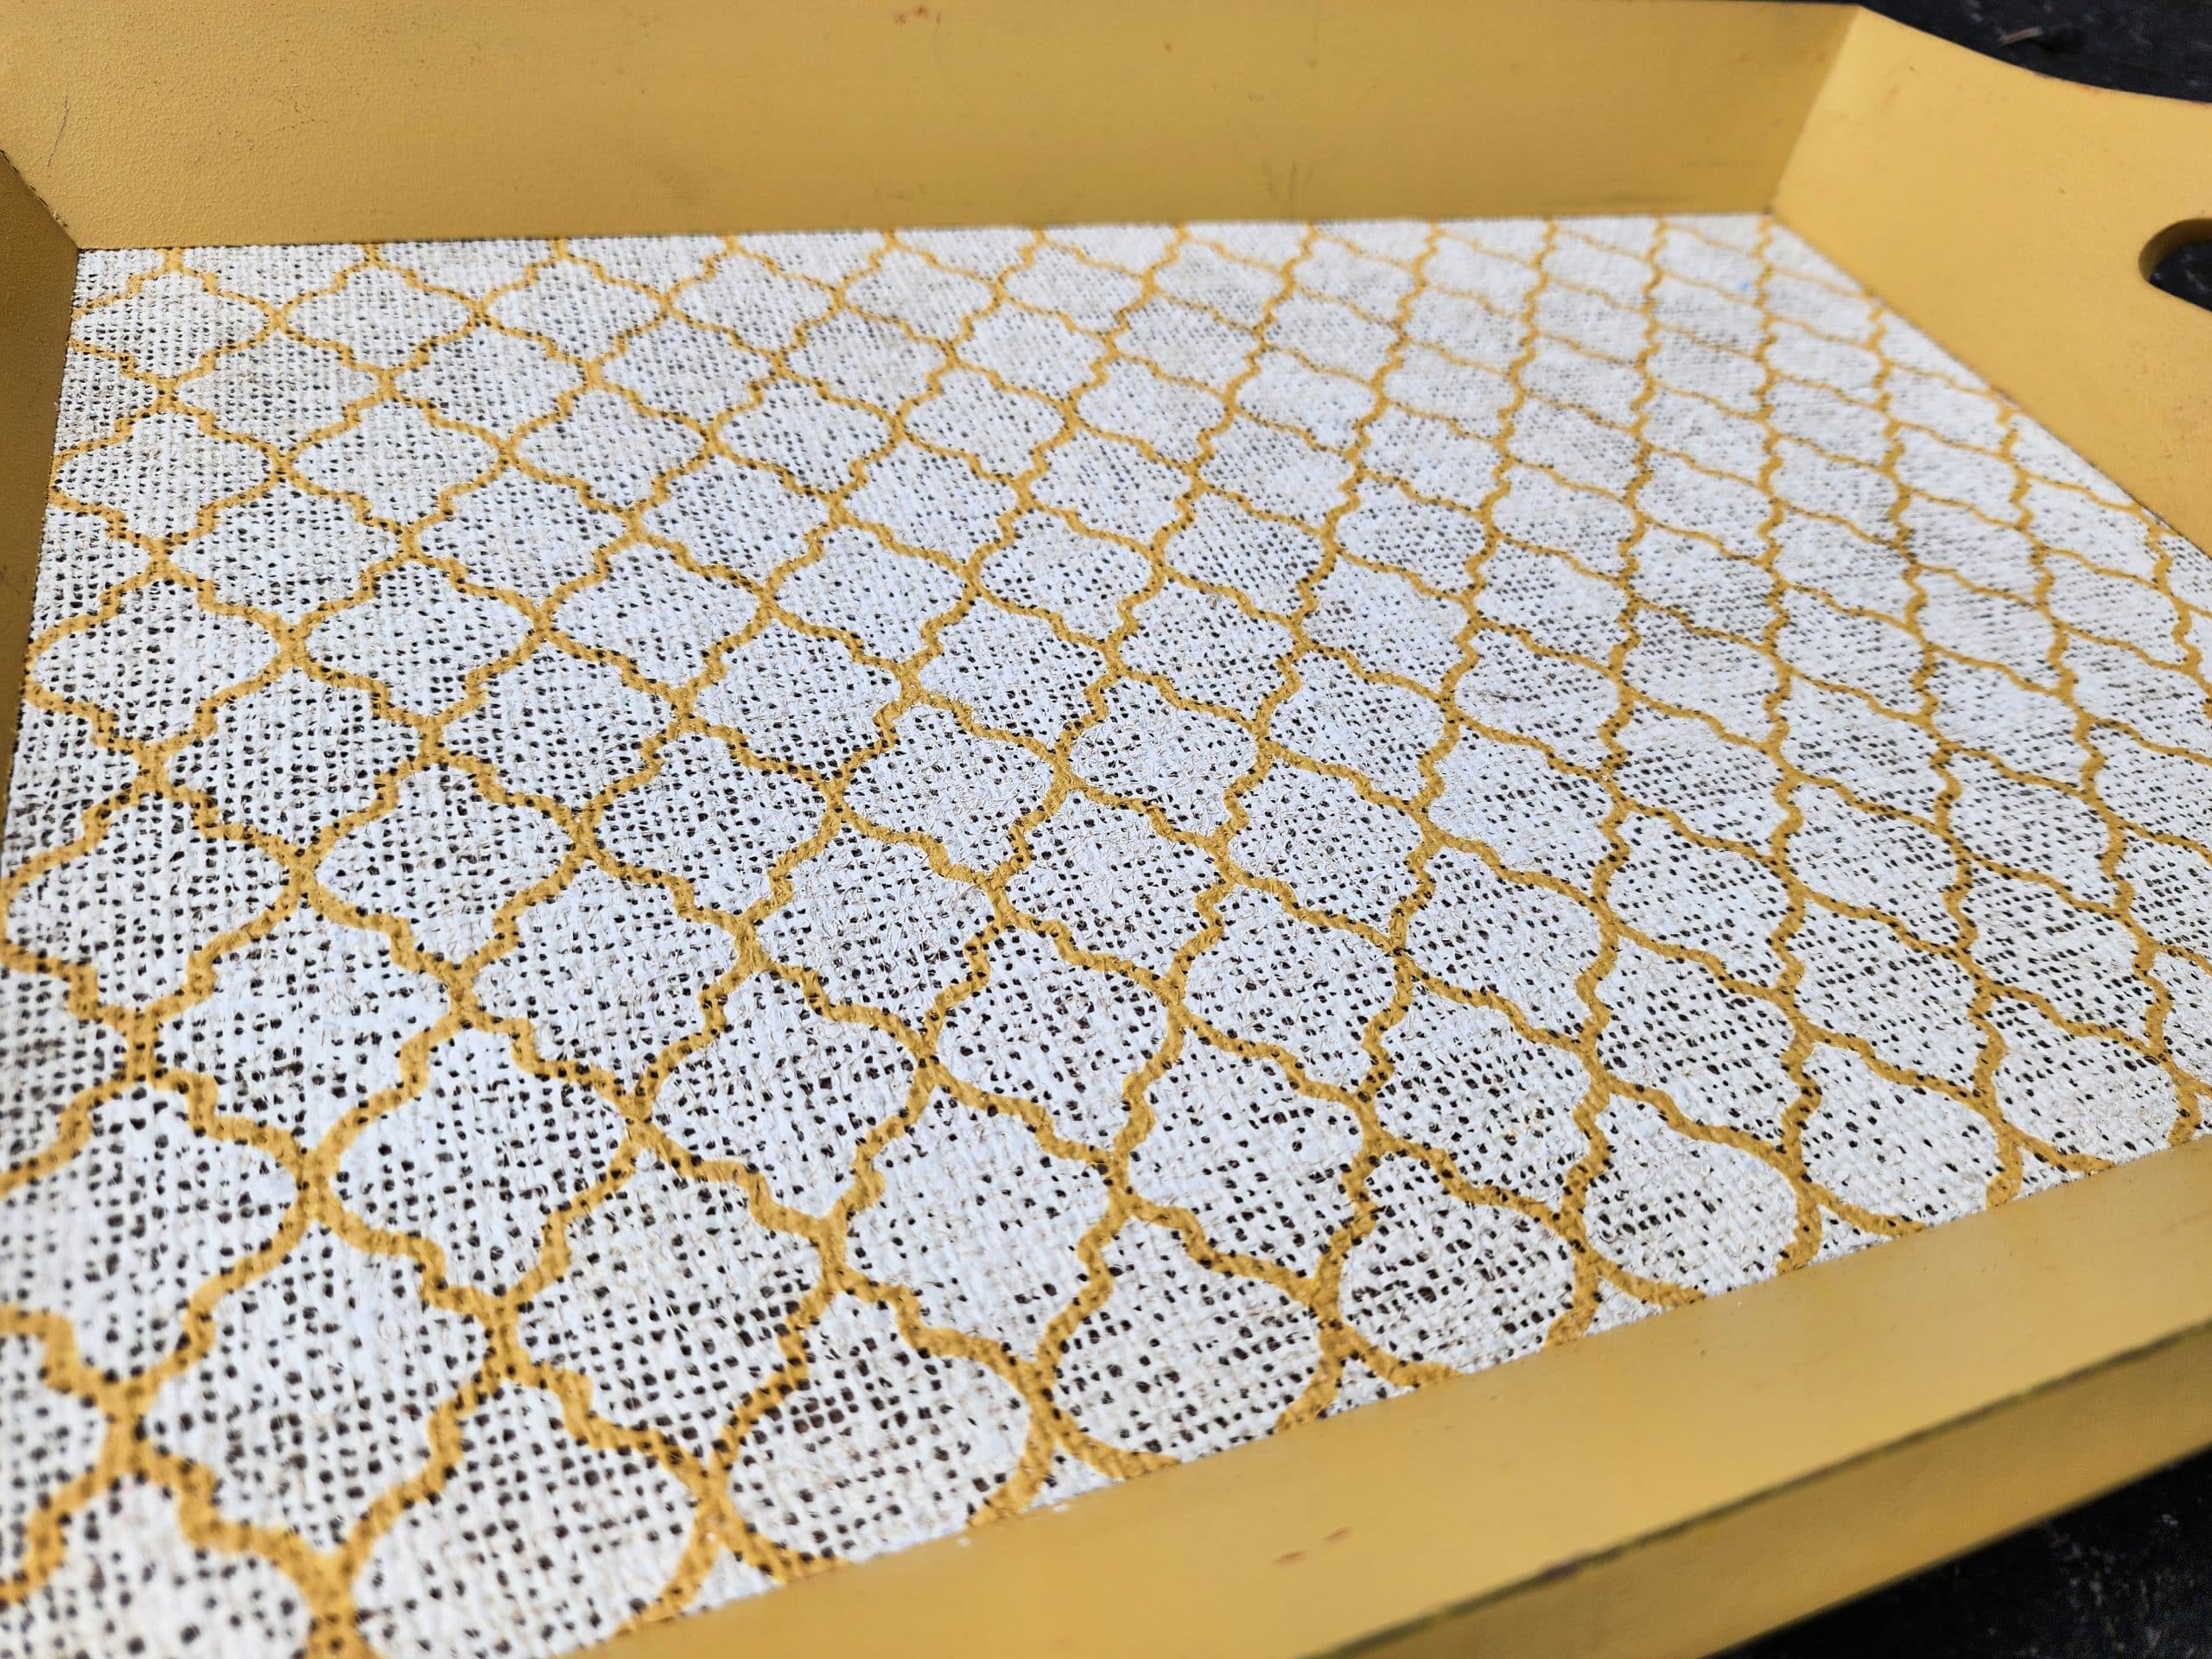
I’m not sure if this was a DIY makeover, or if the tray was purchased with this pattern on it. The pattern is textured, and sort of feels like a starched doily. I knew from the beginning that I wouldn’t be able to paint over the rough portion of the tray.
How to Prep Your Tray for Painting
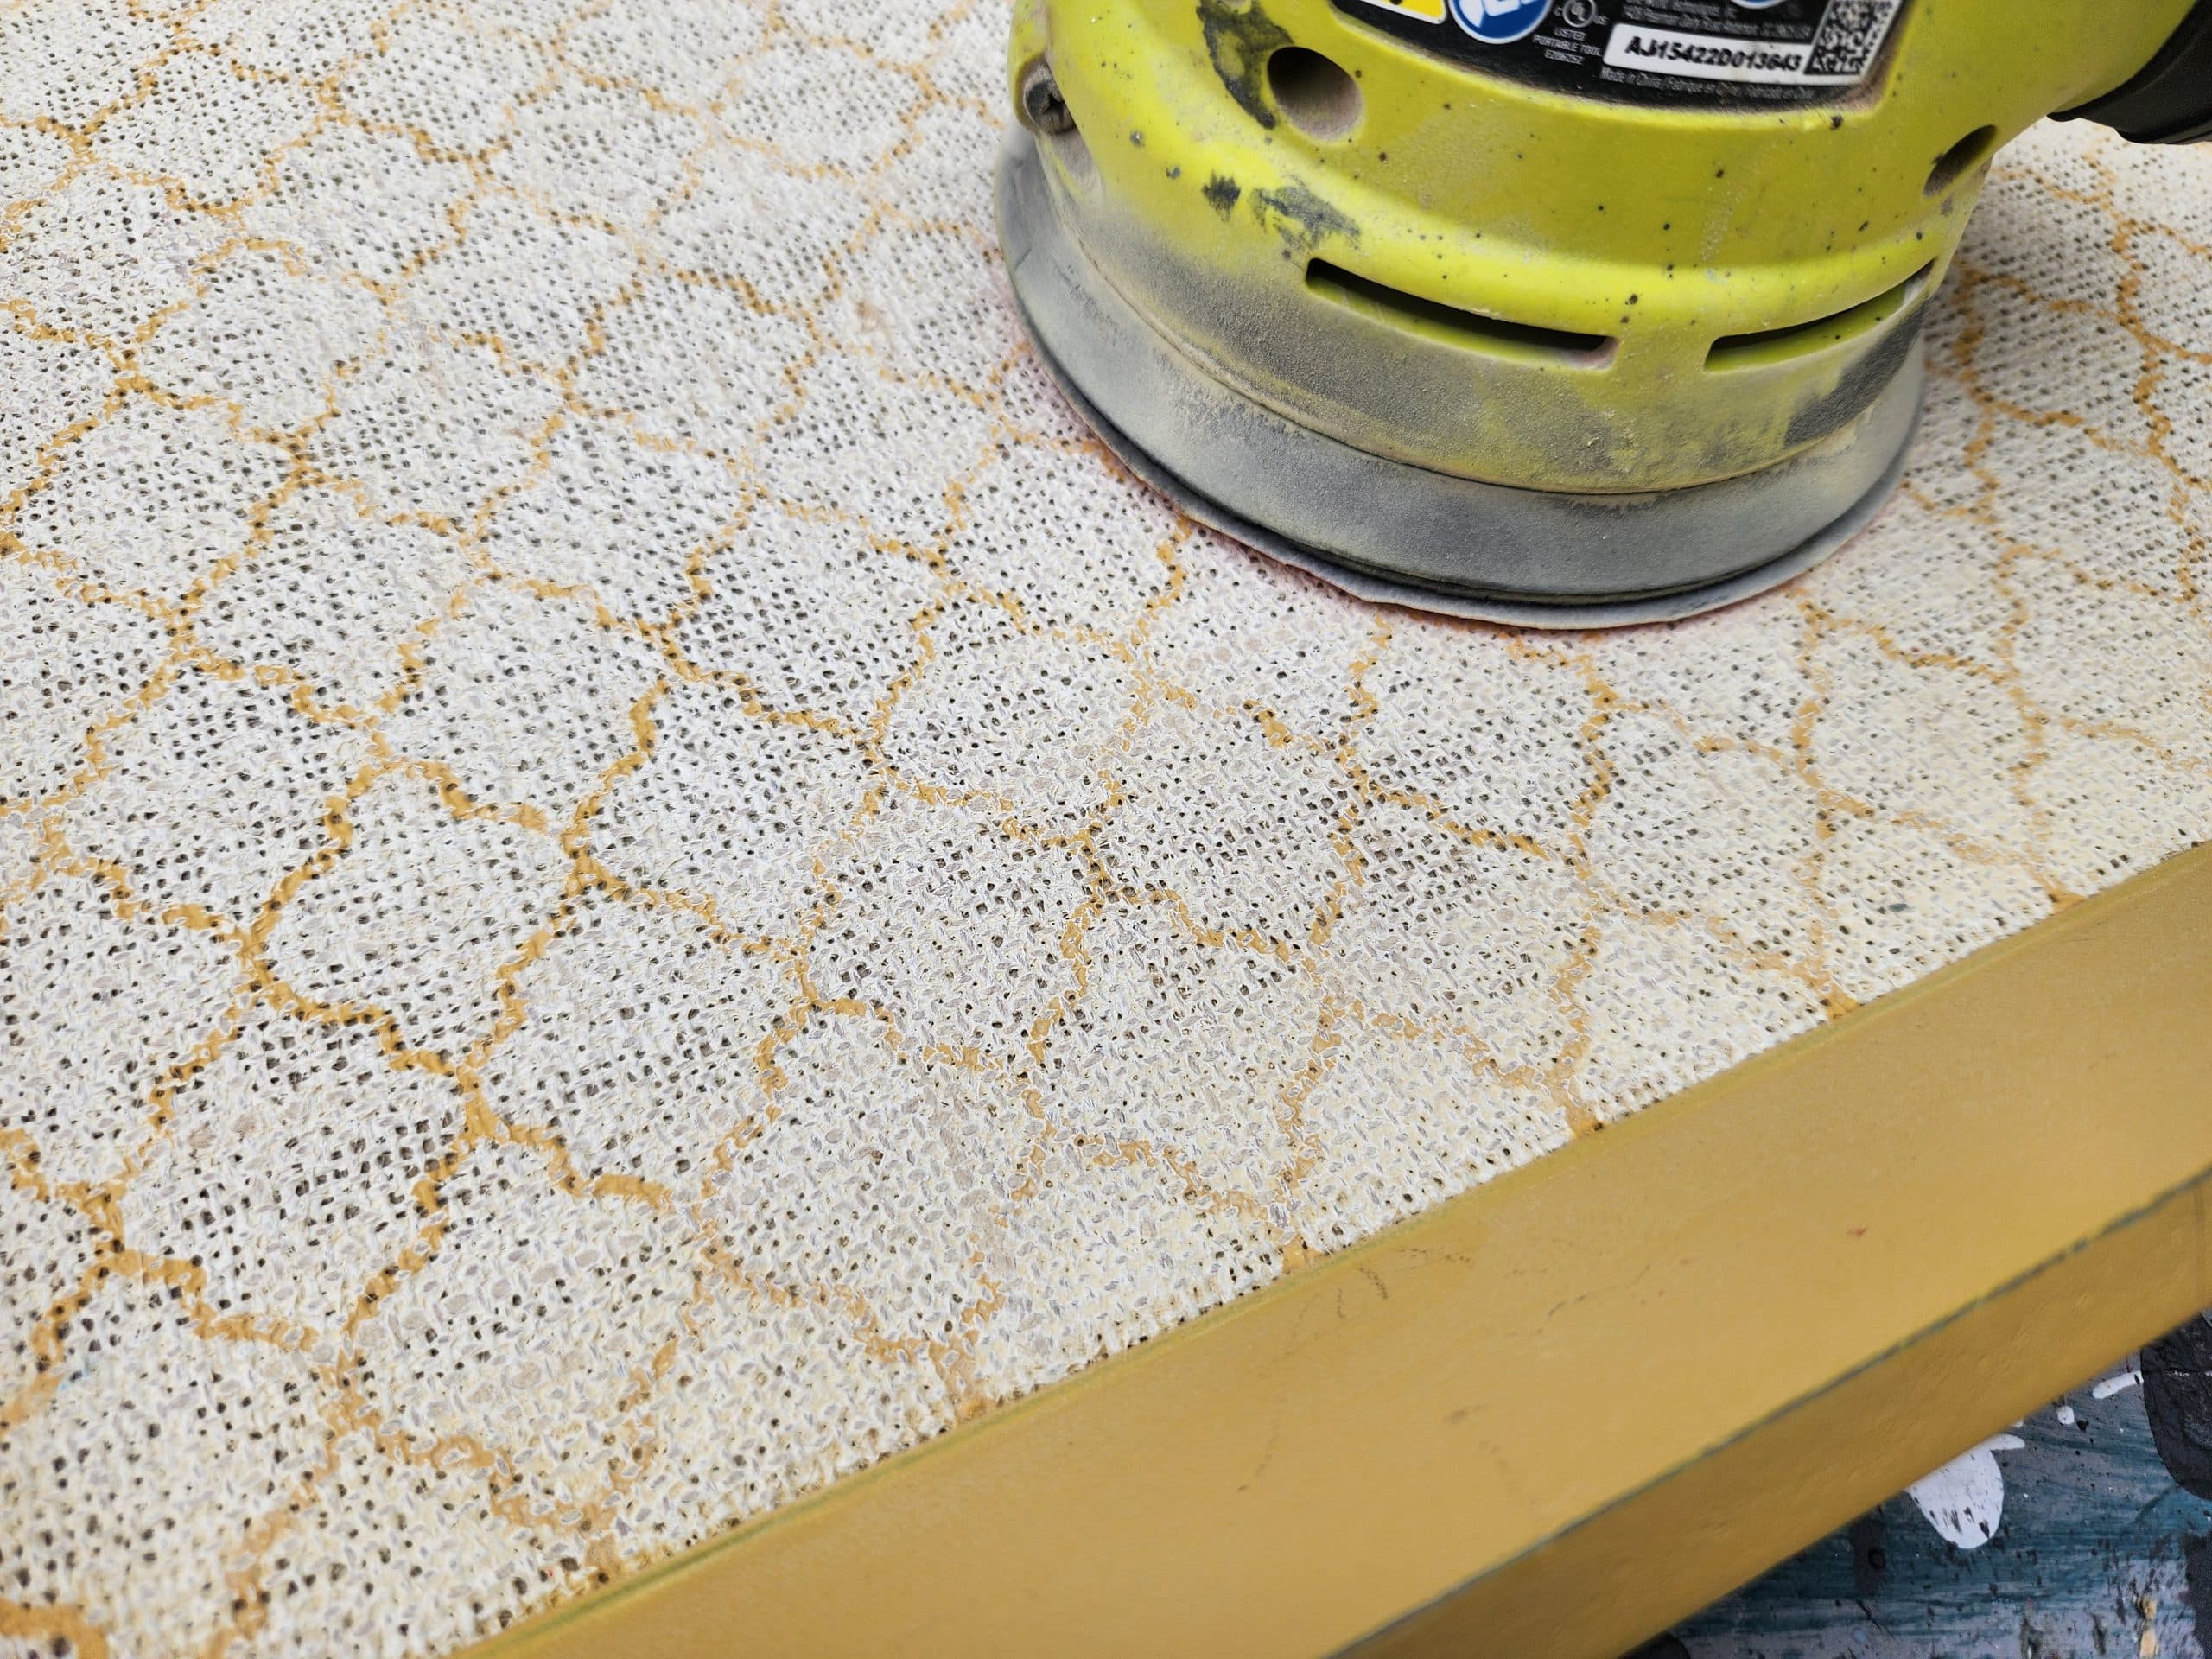
A good tray makeover needs to be smooth for painting. I used the orbital sander for the majority of the surface. I used sanding sponges to get into the corners, and on the rest of the project.
Visit the My Repurposed Life Amazon Store to shop my favorite items.
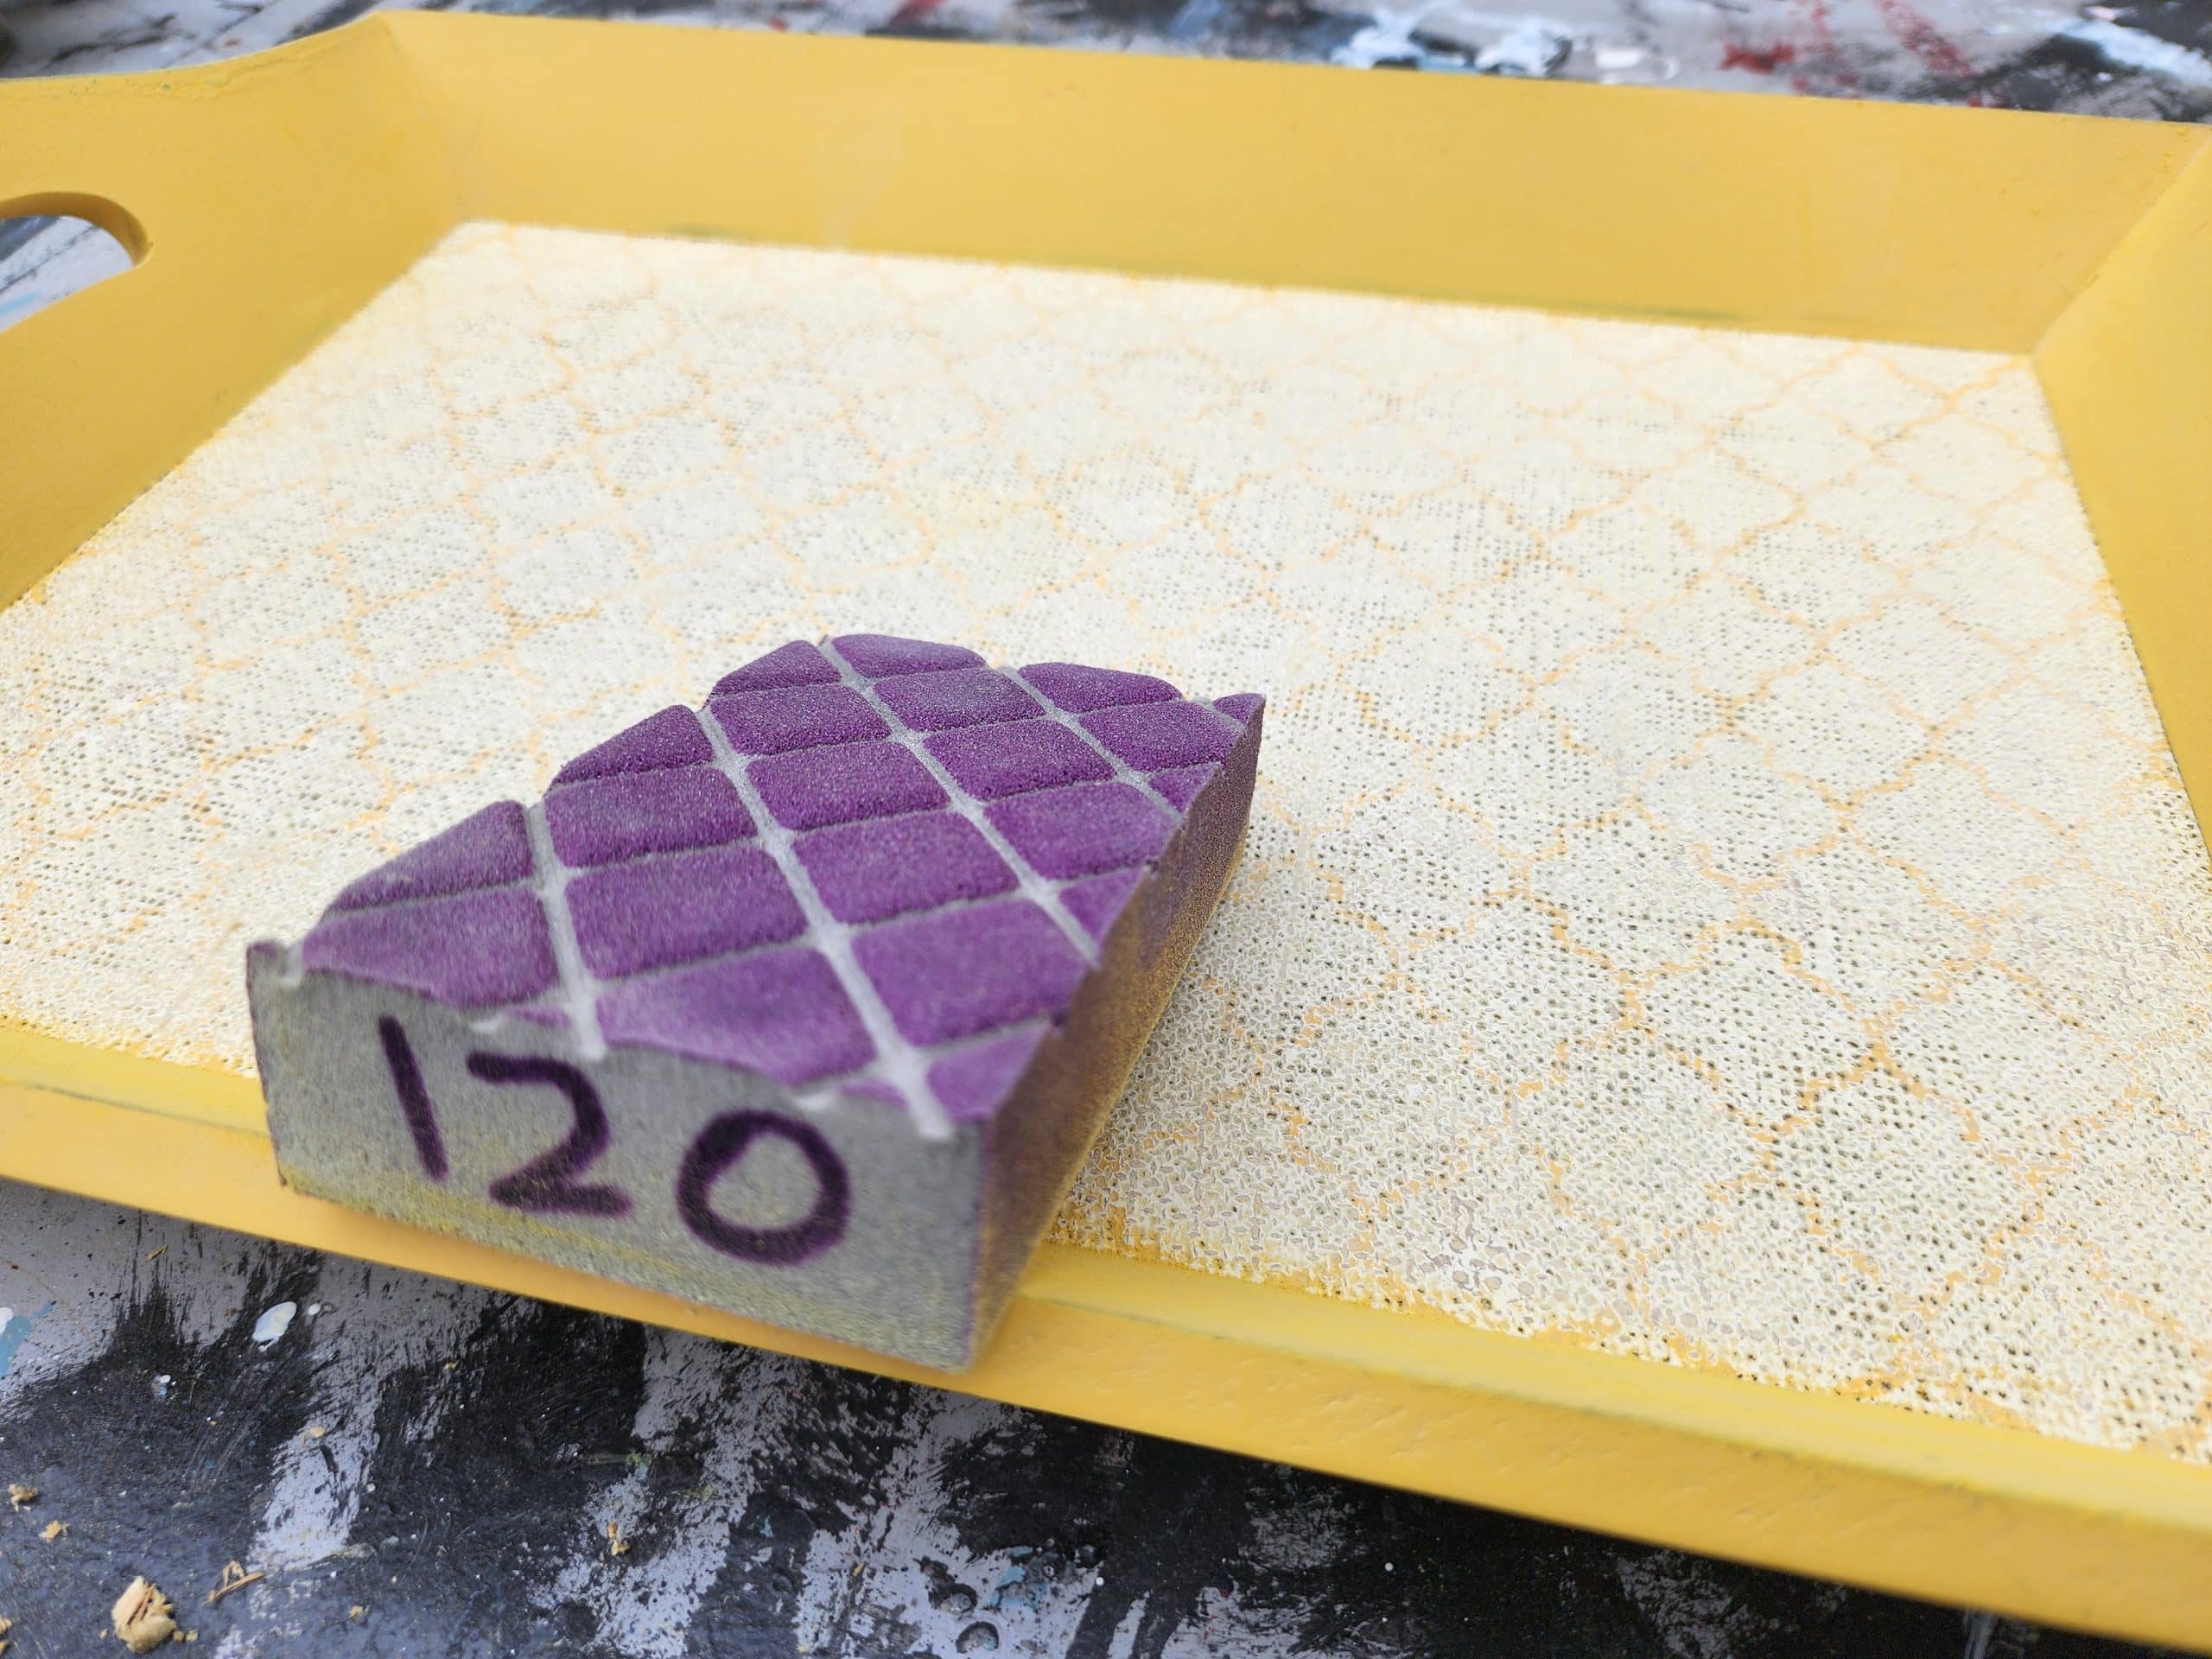
The sanding sponge I used was 120 grit. The last batch of sponges I bought weren’t marked, so I used a Sharpie to identify the grit.
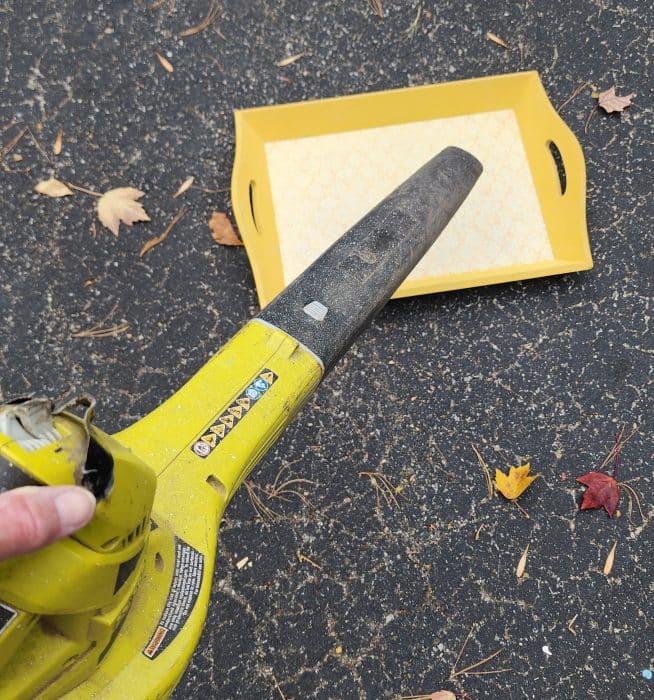
Gail’s Tip:
A leaf blower works great to remove every bit of sanding dust from your thrift store projects.
Related: Clever Uses for a Leaf Blower
Remember earlier, I said this was going to be the easiest tray makeover ever? This is why, Spray Chalk Paint. Have you ever used it? I highly recommend it. It’s easy to use, covers well, and dries to a perfect finish!
Spray the Bottom First
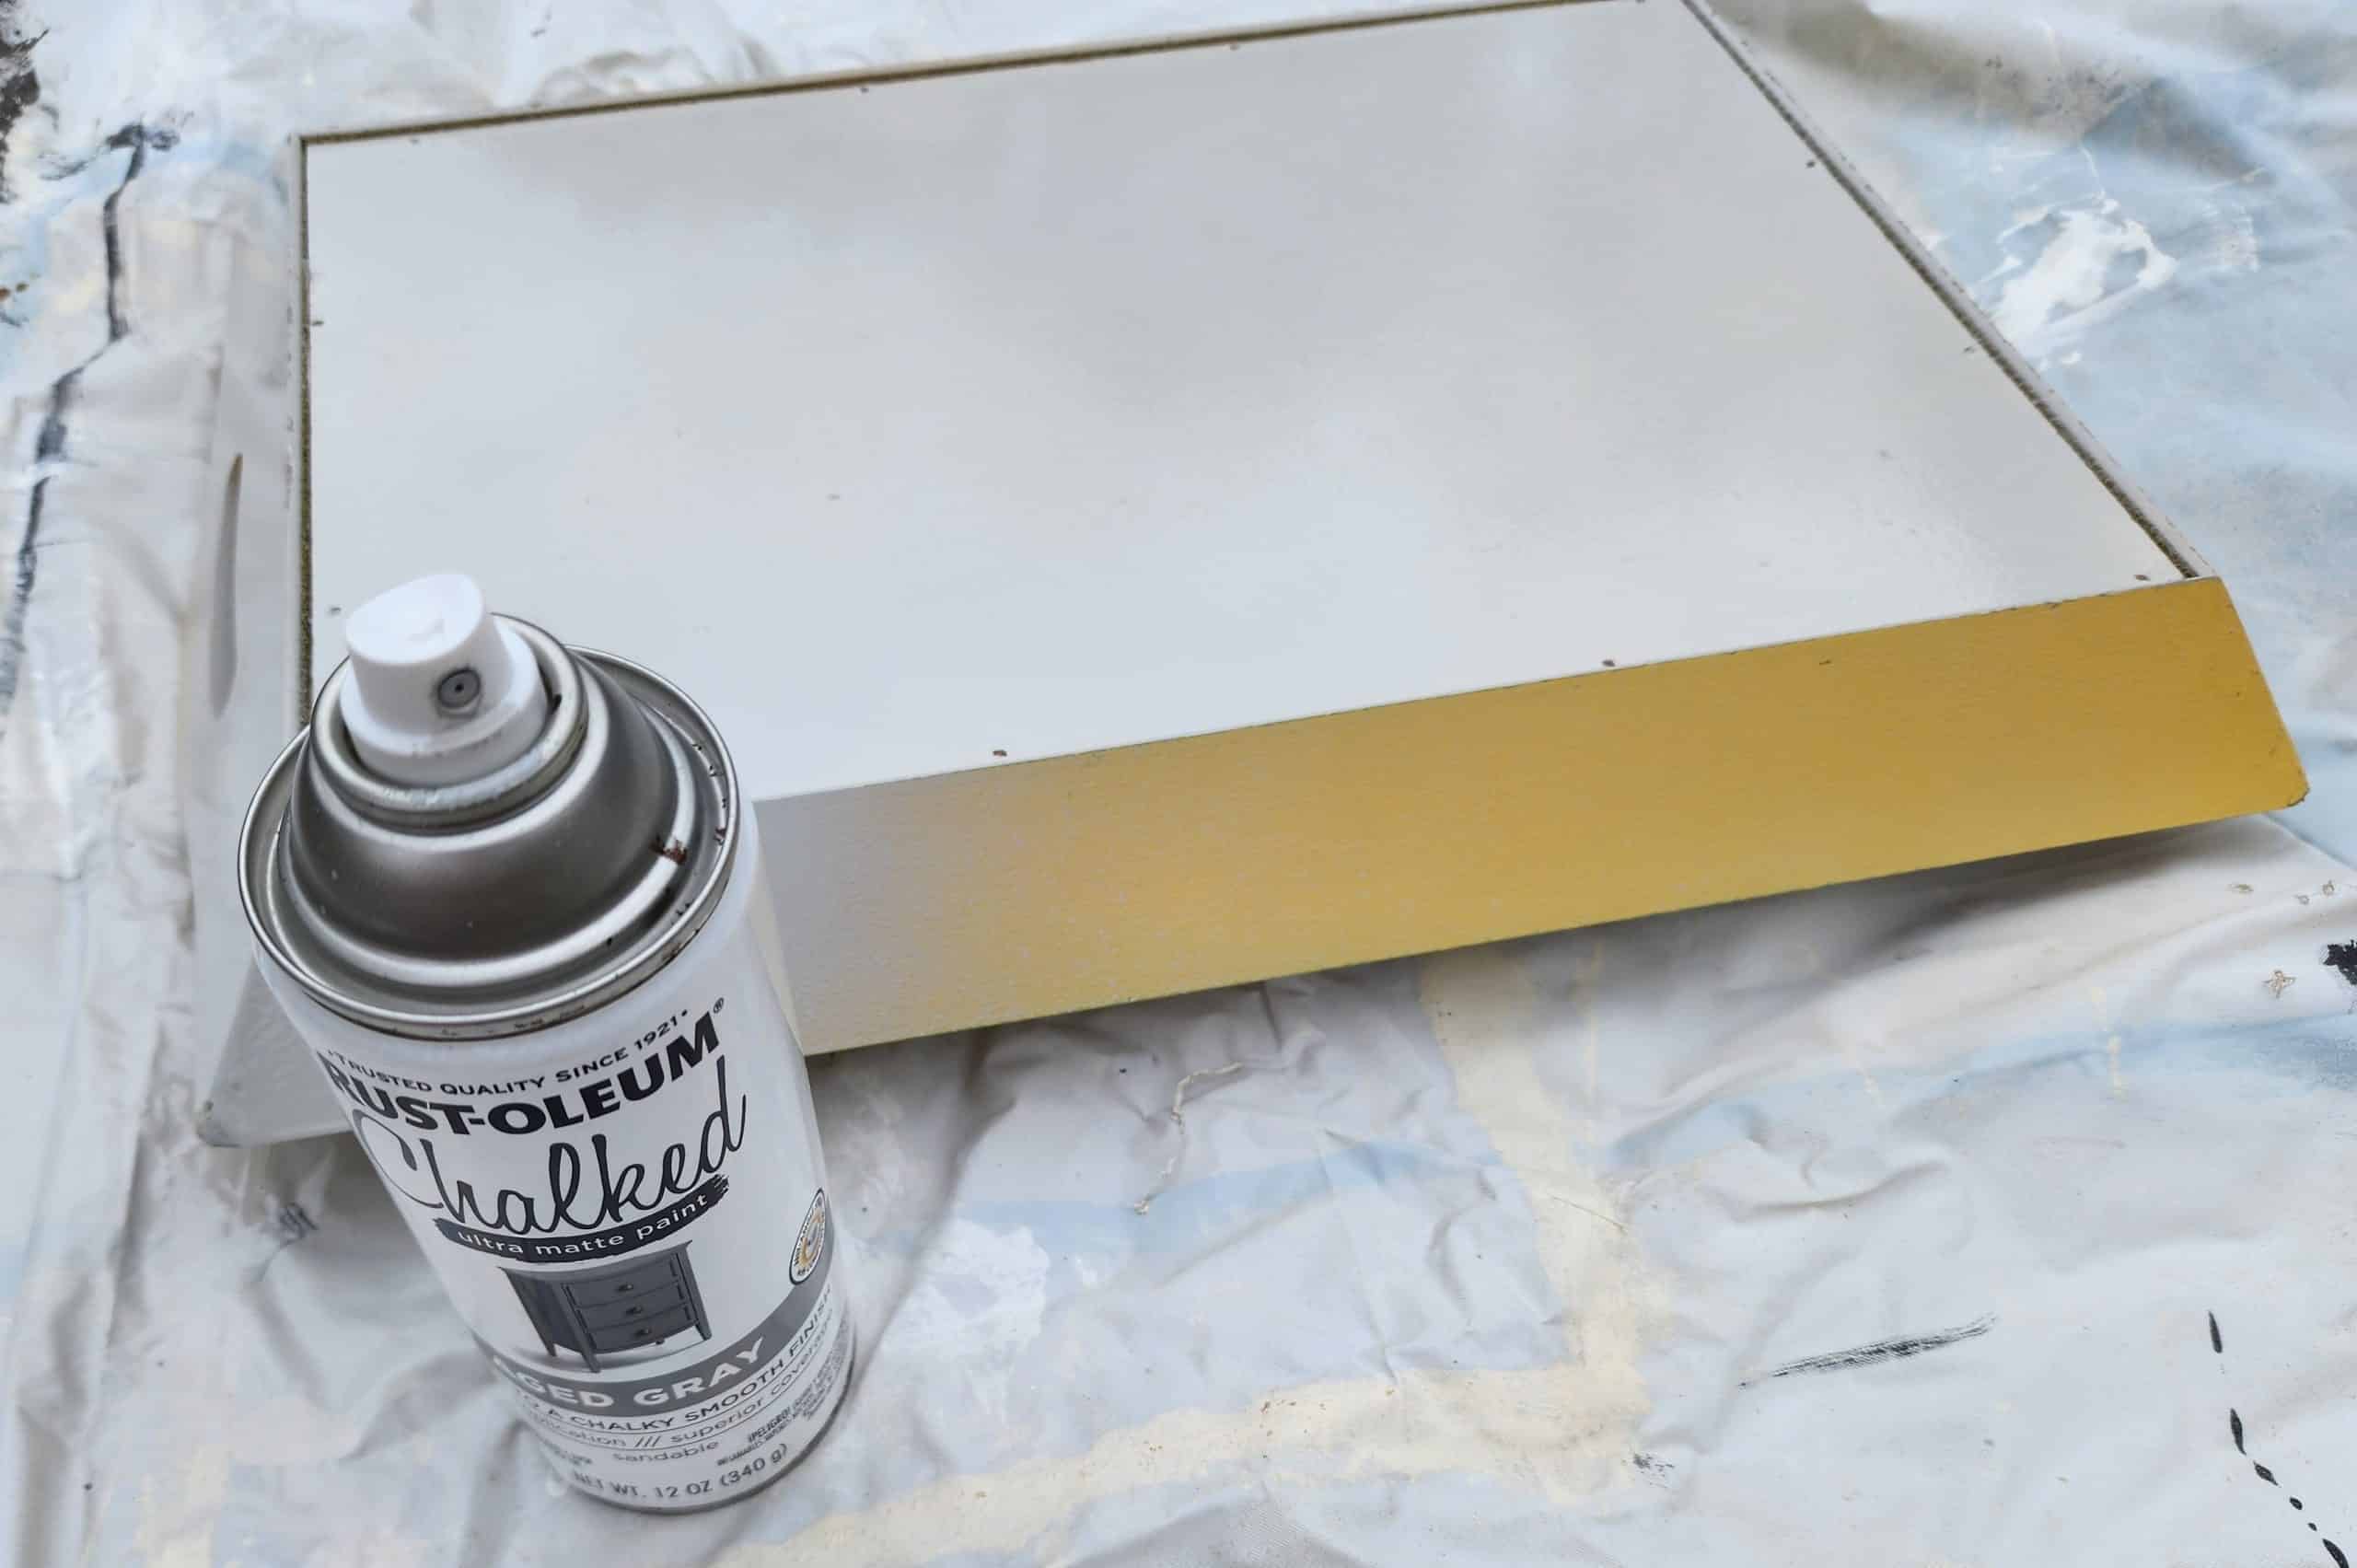
I always begin painting the underside or the bottom of my project first. Why? Because if something gets scarred or nicked, I prefer it to be on the bottom of my project.
Several LIGHT coats of paint will give you the best result.

Handy tip from Gail:
READ the directions on the can for recoating. Many spray paints recommend within 25 minutes or AFTER 24 HOURS!

After painting the textured part of the tray, it was starting to grow on me. But, the whole point of this tray makeover was to use that sheet of wallpaper.
Shiplap Wallpaper Sheet from the Dollar Store
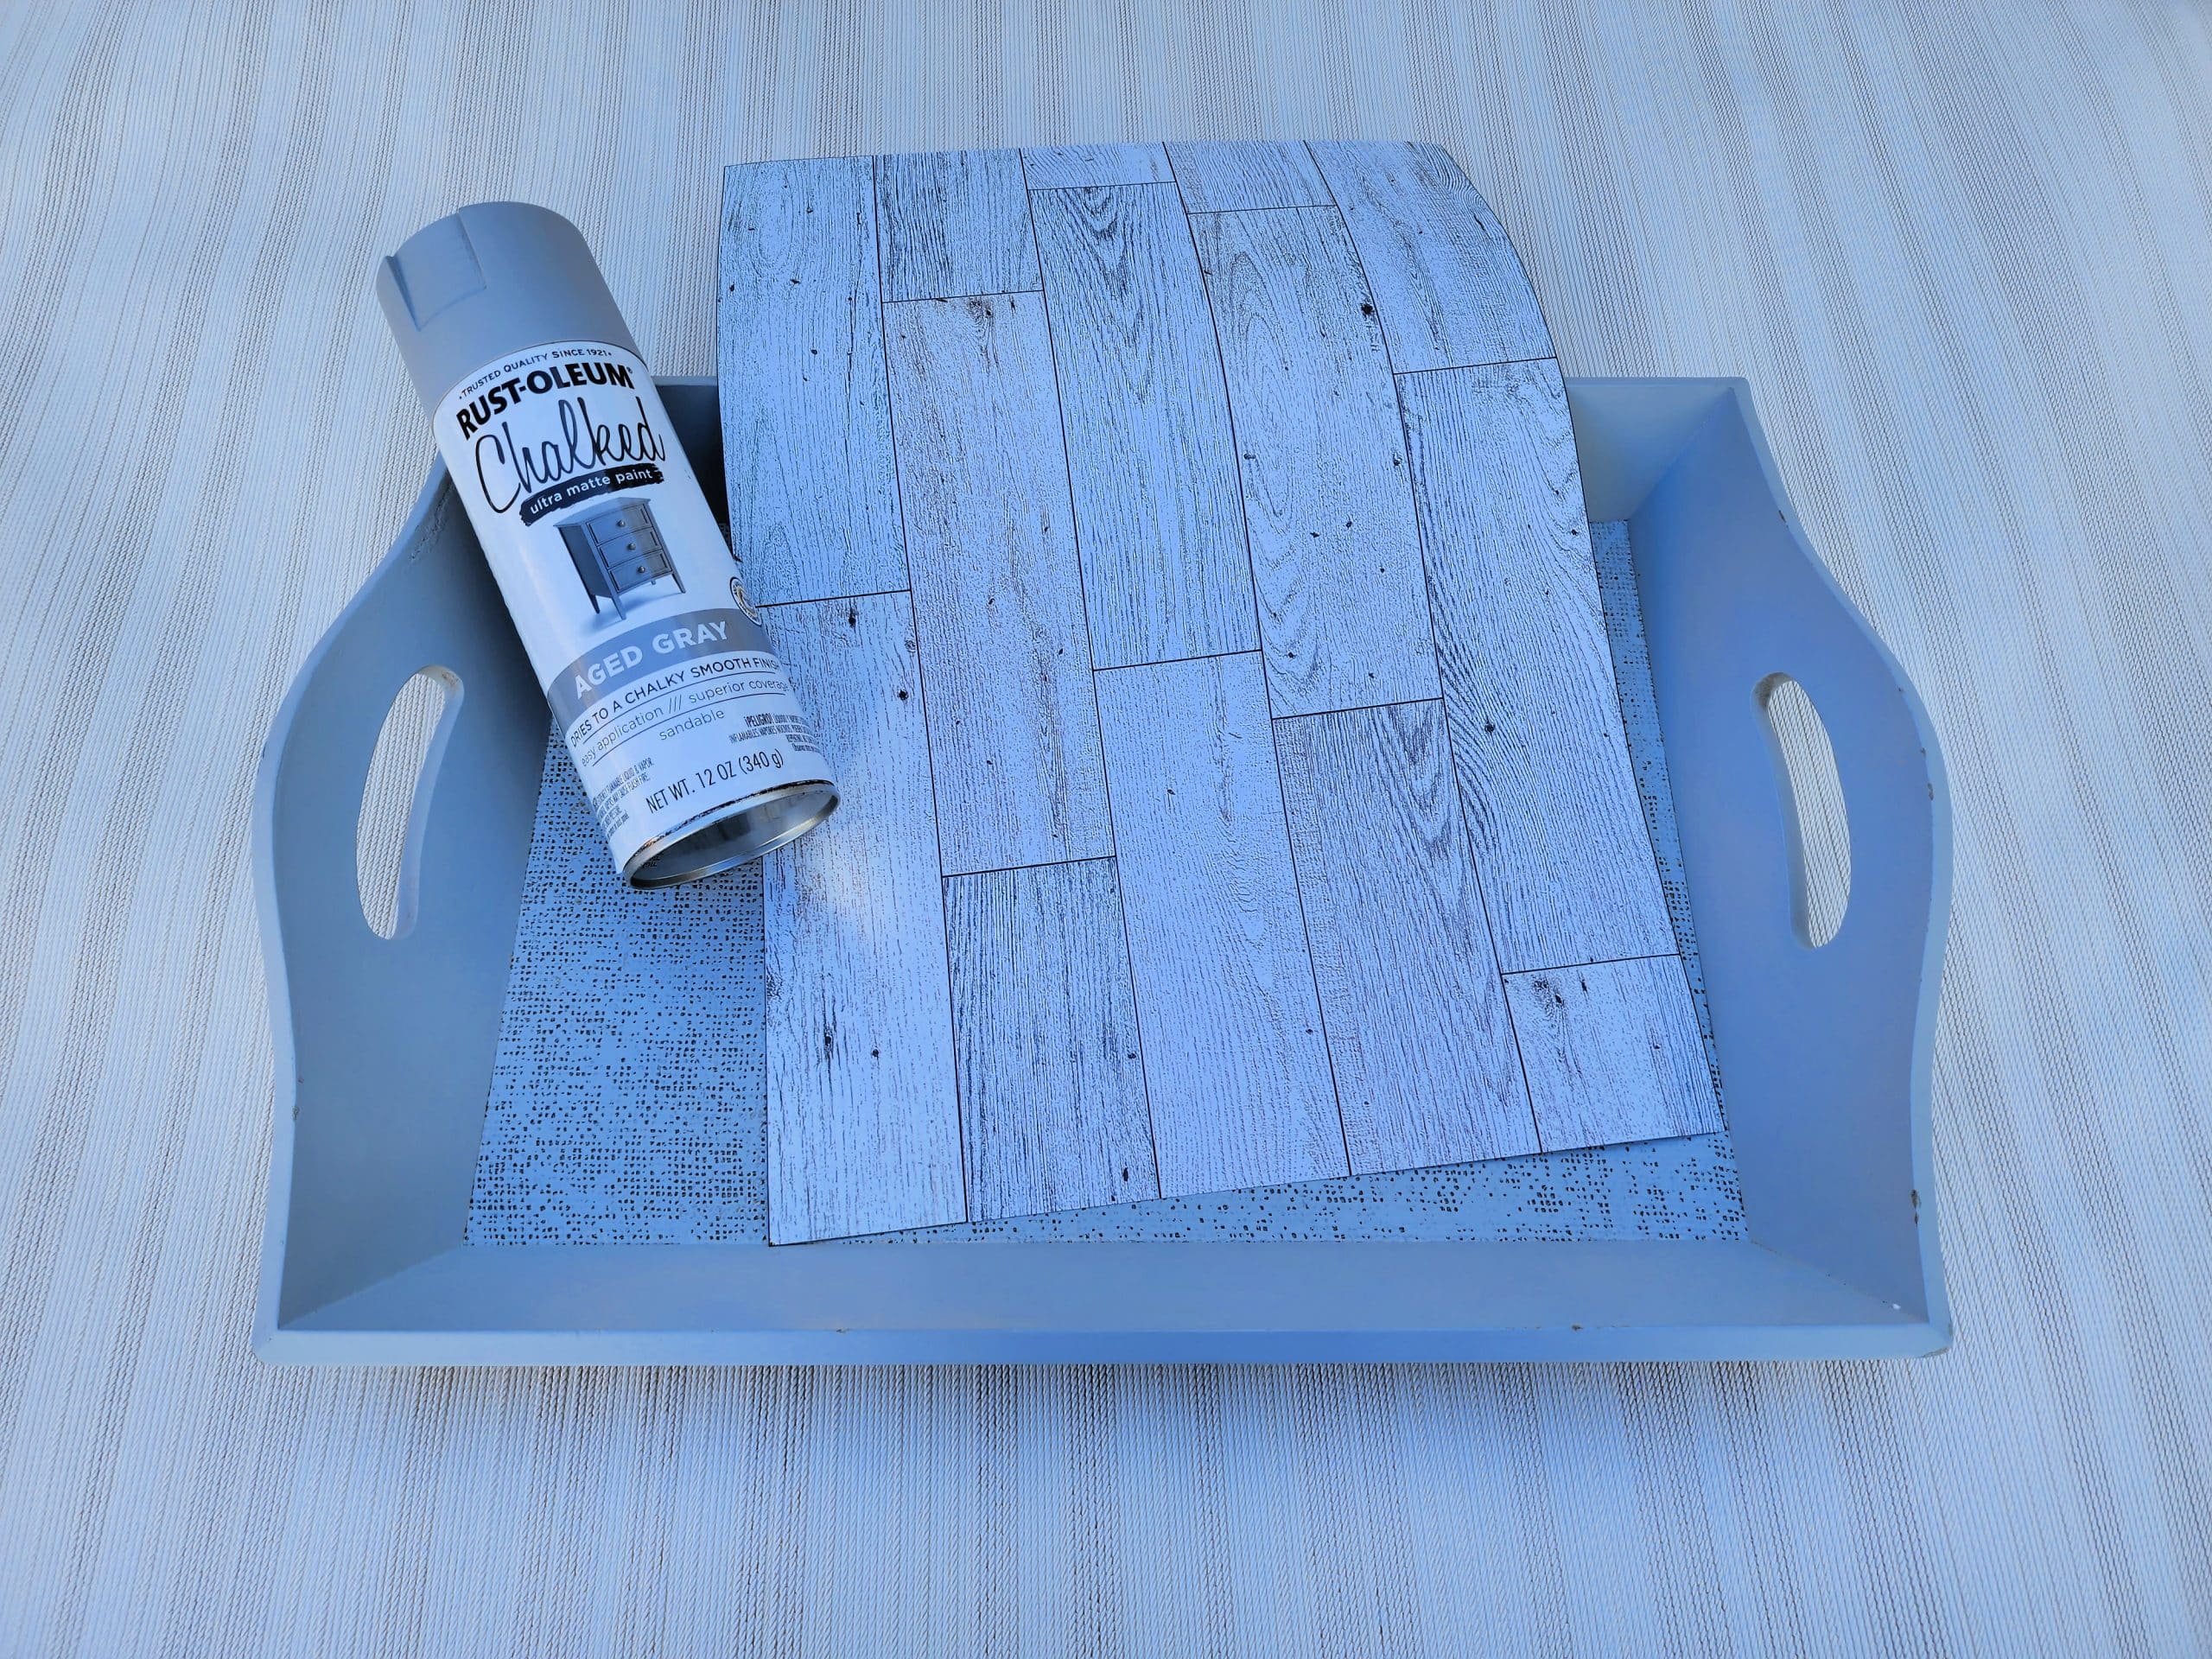
Yep, that’s right. I got this piece of shiplap wallpaper from the Dollar Tree for $1.25.
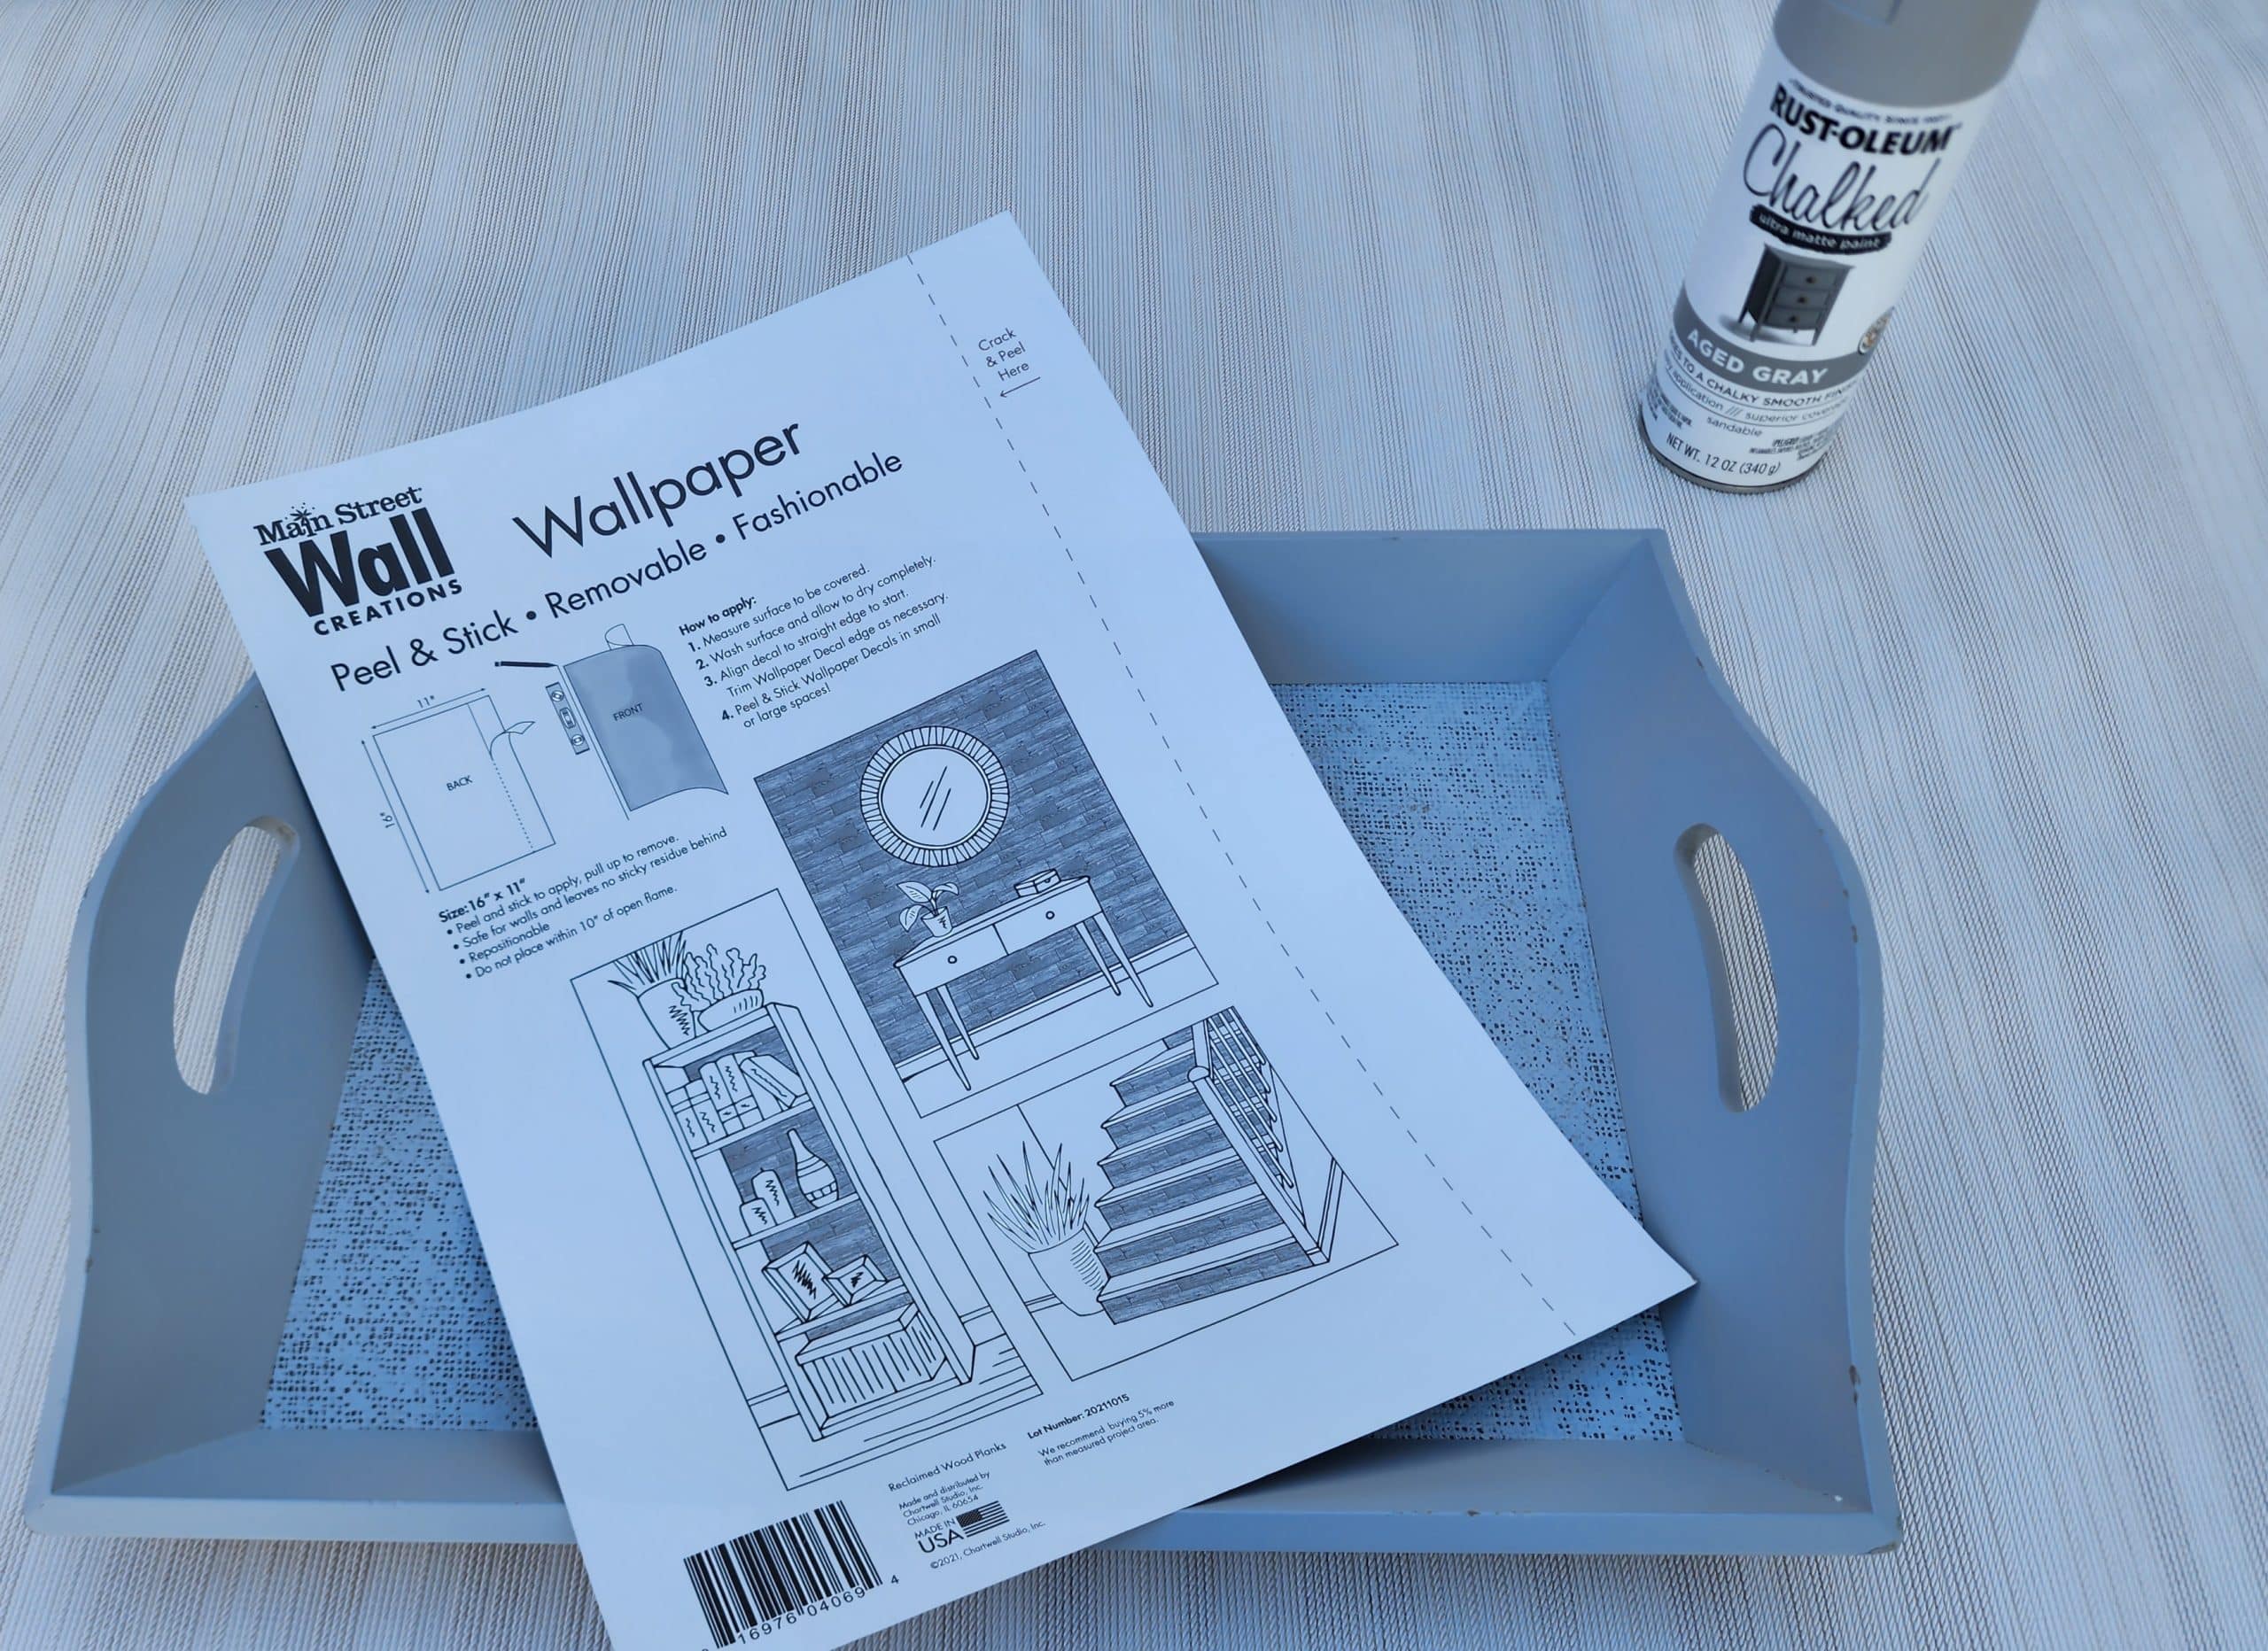
So easy! Peel and stick wallpaper for about a dollar! So, if you’re keeping track, the tray was $1.50, $1.25 for the wallpaper. (I already had the spray paint on hand)
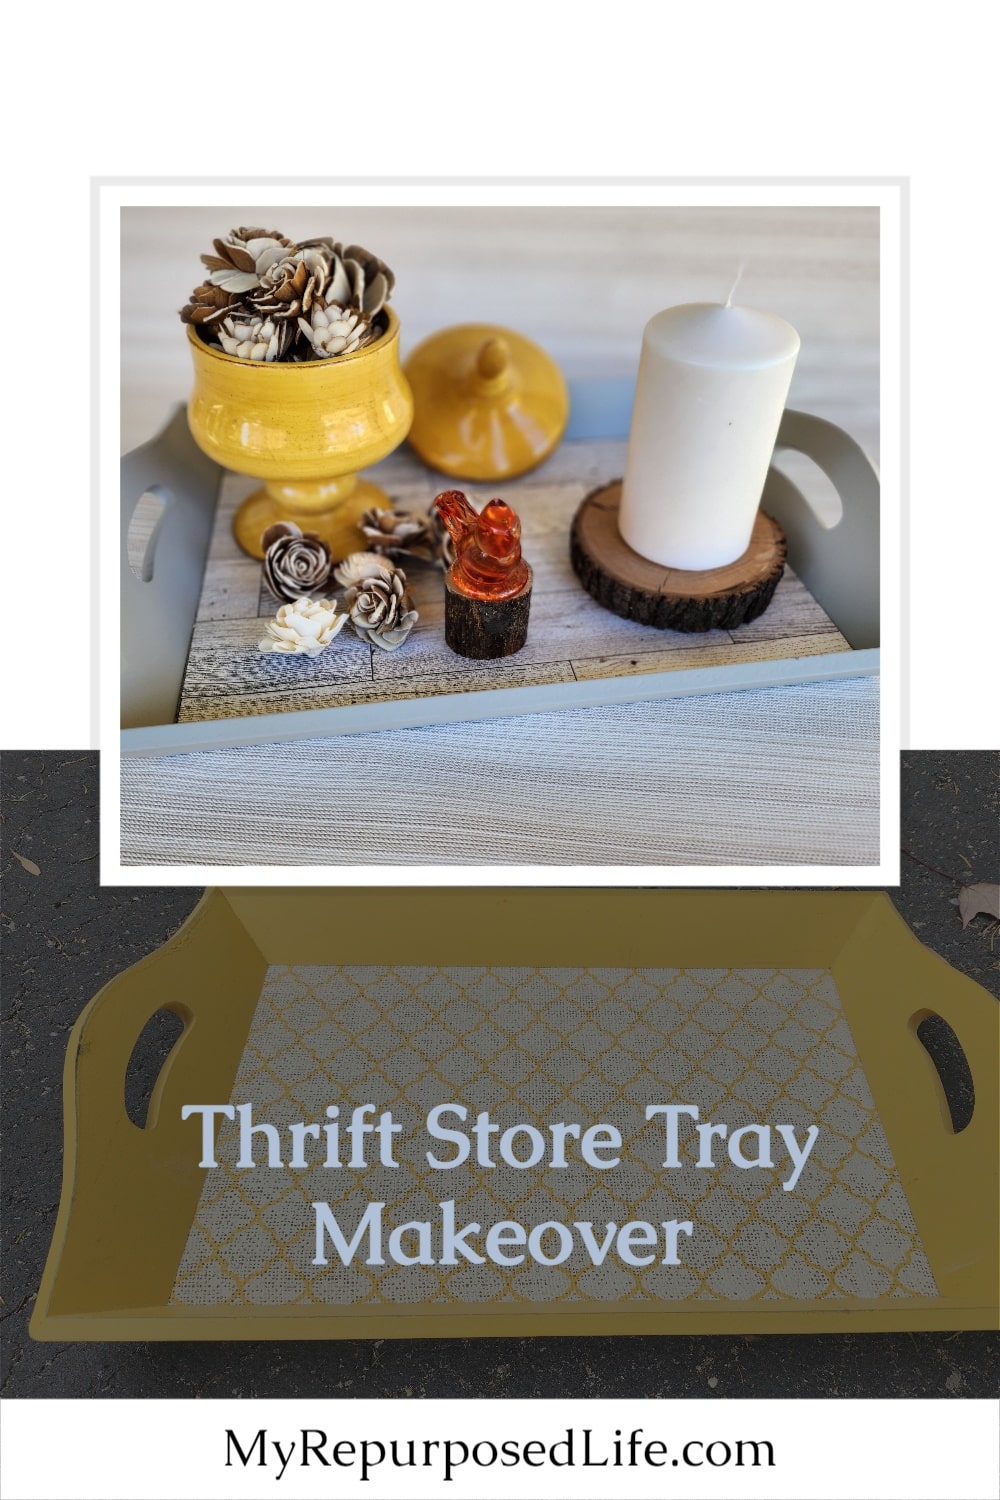
Pretty Gray Tray Makeover with Wallpaper
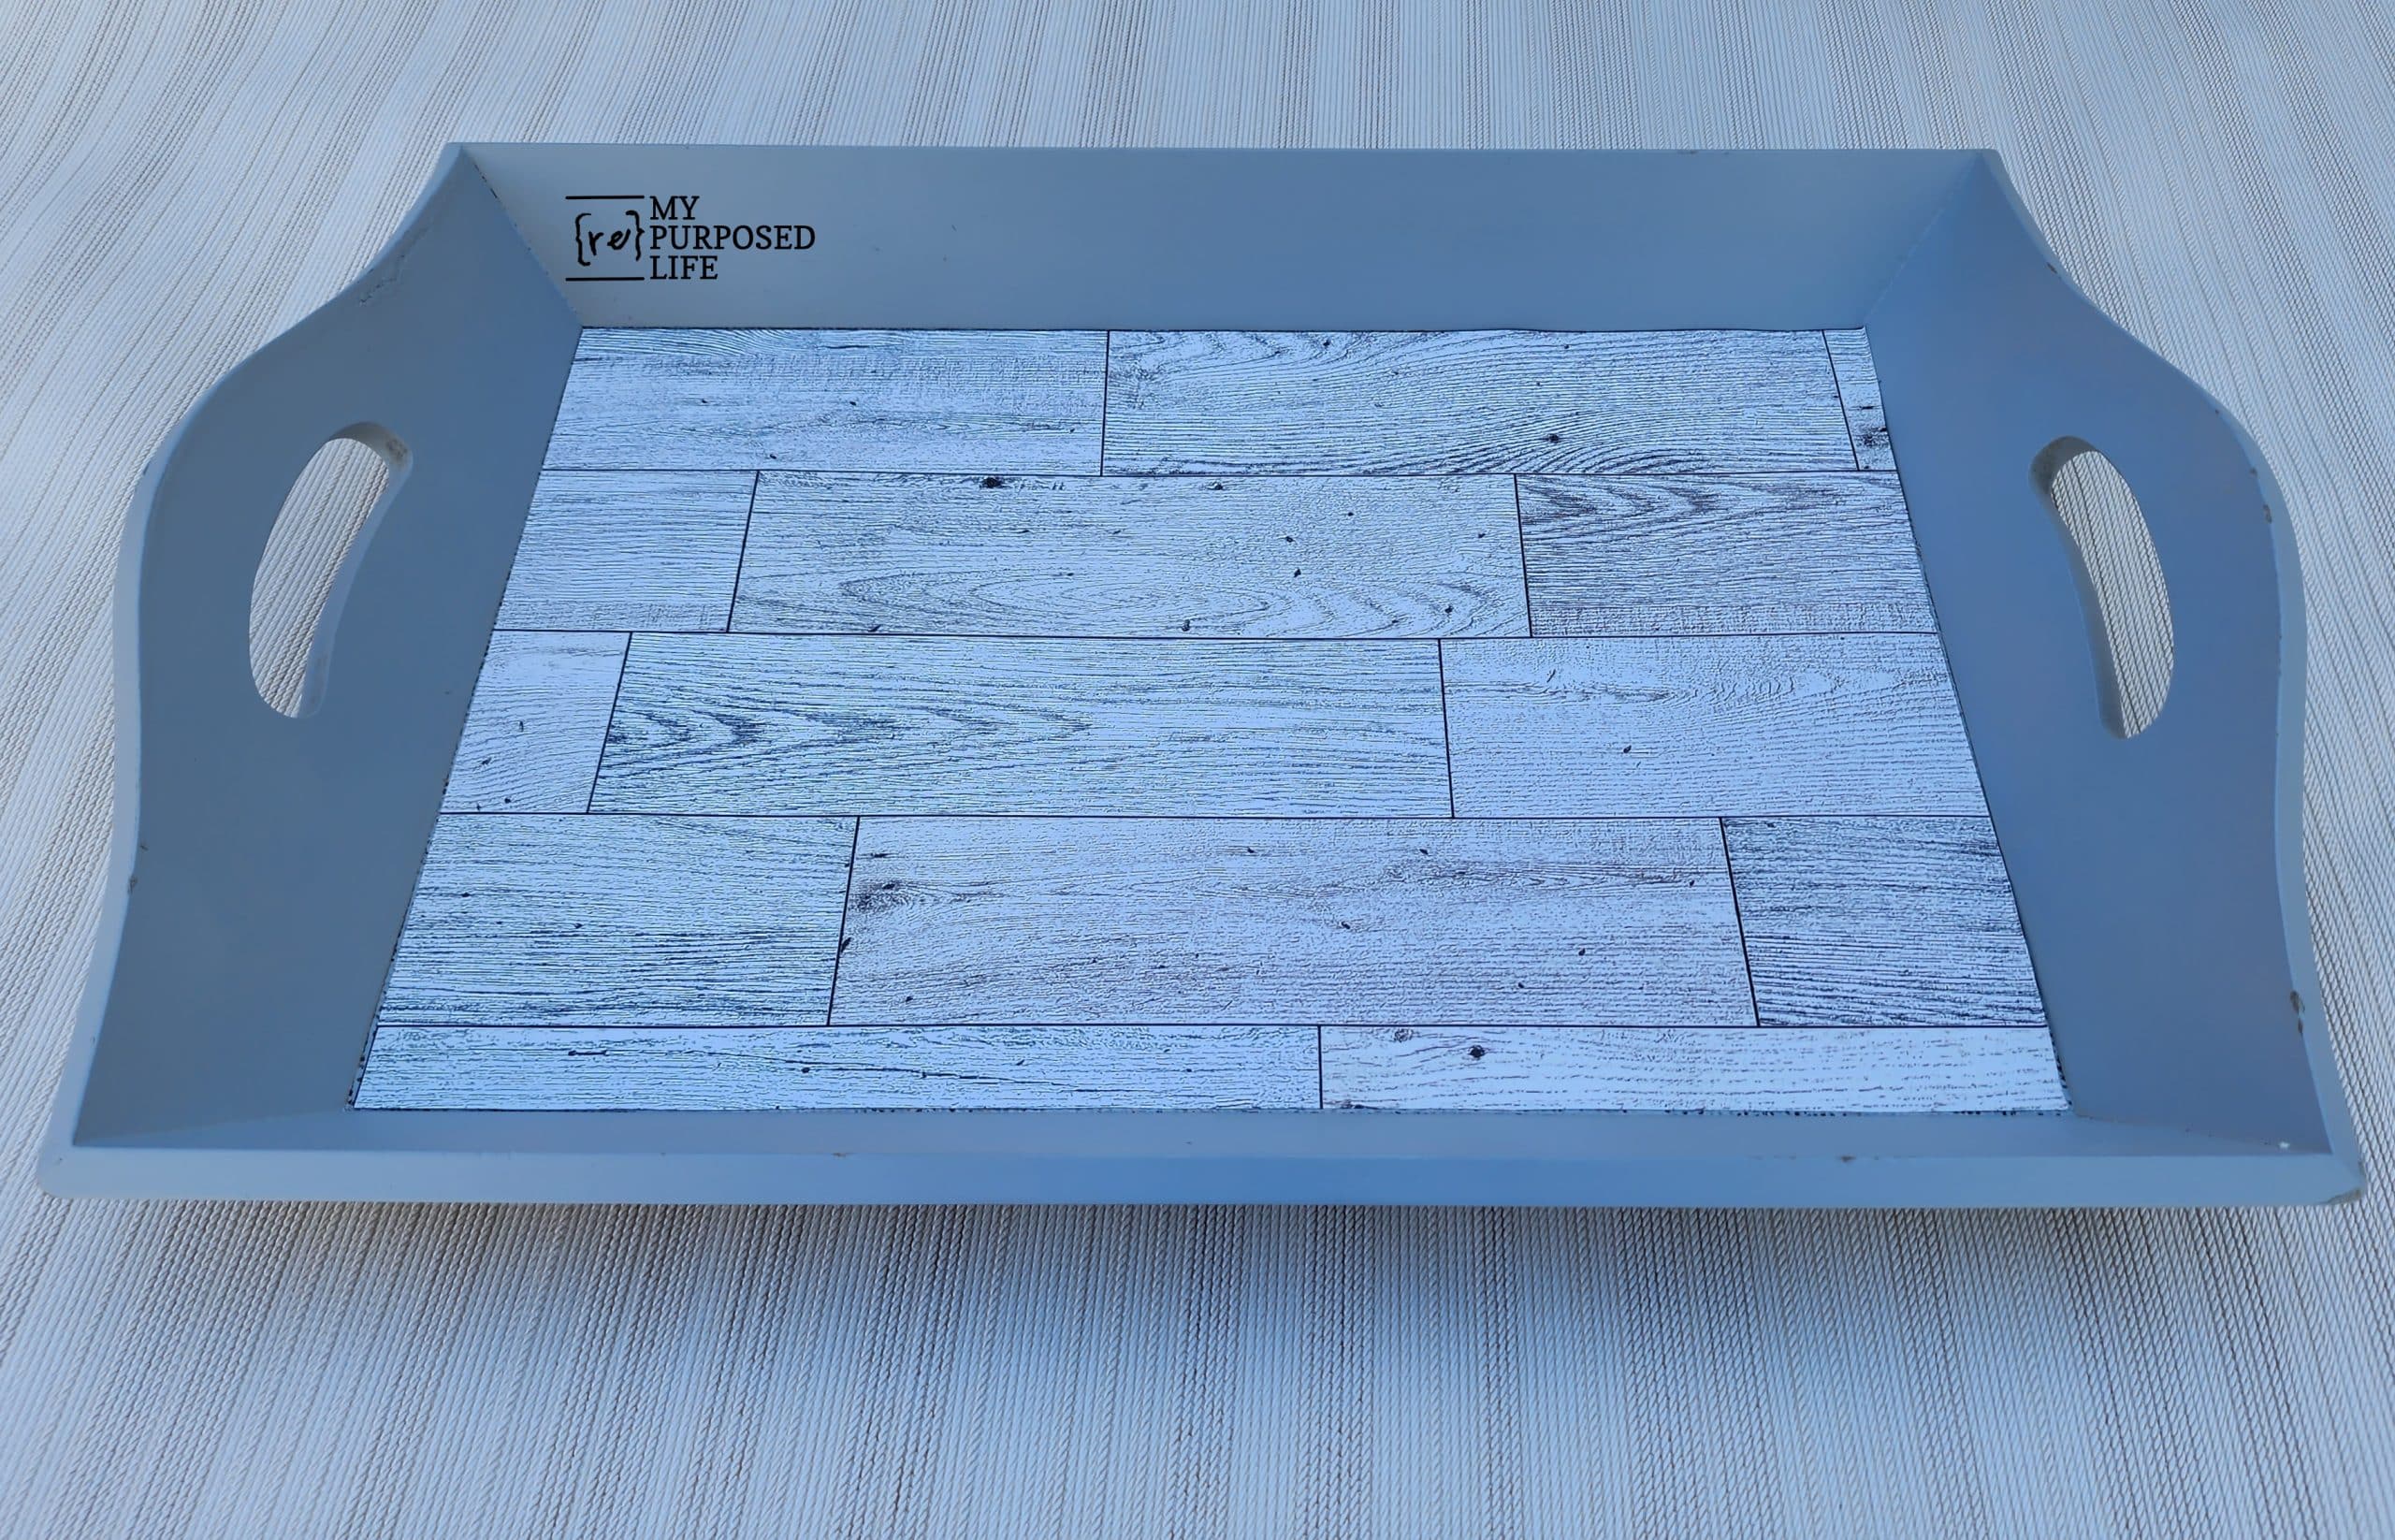
In this image, I haven’t actually “peeled” the wallpaper. But, isn’t it soooo pretty?

Funny that I chose a small yellow urn. Can you imagine how awful that would have looked on the original tray?
Now, let’s take a look at the awesome projects from my friends . . . .
How smart to use peel & stick!!! I love the transformation.
Thanks Maryann! I just couldn’t resist taking the easy road on the tray makeover. It’s like the tray and the peel and stick $$ store wallpaper were made for each other.
gail
It’s amazing what a little can of spray paint can do to liven up an old piece. The wallpaper took it to the next level. Great upcycle!
Christy,
thank you! gotta love an easy spray paint project.
gail
Such a practical makeover Gail! You can use a tray anywhere and the colors really are neutral. Love that wallpaper! pinned
Thanks for pinning Suzanne! I guess I need to give the tray back to my friend, eh?
gail
This turned out super cute! I love the color (need to try the spray paint) and the wallpaper, it’s perfect!
I appreciate your comment Kristin. Spray paint projects with peel and stick? It’s definitely a win/win.
gail
Thank you, Gail, because no one can ever have too many trays! They are incredibly useful in ANY room, for all types of functions. Thank you for letting me/us know about spray chalk paint, too. And the creative uses for one’s leaf blower! Who knew? Bet the spider would’ve been blown out by that. Oh, how funky the must’ve been! lol. AND, I love, love using wallpaper for projects! It is under rated and I have some beautiful one’s left from other houses we lived in and have saved through the years! I also buy, when a store closes or a dollar store place, I pick up small rolls-it might even be borders! I went to a K-Mart closing once -well, twice. The 2nd time, I went on the very last day and got some rally nice-looking and decent quality still in it’s clear wrapping film, for a dime-one thin dime! In fact, I just now found a basket that had a roll I had bought years ago, that bubbled up from the bottom of a basket. Surprise! Make me into something else, please?? And, then, here comes Gail! 🙂 You did a big favor for me by giving me a great link t find some upright, milk glass top of two older lamps-one for me and one for my friend! She lost her husband this last year and I lost my daughter a couple of years before that. Her hubby had always looked for one for her and my daughter loved the old, heavy bottomed flor lamp that had belonged to my parents-and wow, do we have a lot of pictures with that in it! I cannot look very long at a time-grief is strange. But I want to thank you again for that help! And I have looked at one other friends site and wrote her and will look forward to seeing the others! Warm thanks, Terri
Terri,
I was just in NH on vacation, and I saw some milk glass globes at an old country store and I thought of you right away!
gail
really nice. i love the color choice and that dollar store shiplap!!! 🥰
win/win, right?
I love easy thrift store makeovers!
gail
I love this!!
Thank you Brenda!
gail
The tray looks so much better now!
I agree Kathy. I never could decide if it was original, or if someone had already done a DIY on it.
gail
I have to pick up some of the Dollar Store wallpaper! Very cute! Pinned.
Awww thanks Carlene! That wallpaper was soooo easy! I need to get some more to keep on hand.
gail